|
|

Table Of Contents
The SCA BB Installation Package
Installing SCA BB Application Components
How to Install SCA BB Front Ends
Upgrading from Version 2.5 to Version 3.1.0
Upgrading from Version 3.0.x to Version 3.1.0
Upgrading the SCA BB Service Configuration Utility
The Service Configuration Editor Tool
The Subscriber Manager GUI Tool
Getting Started
This module guides you through the process of getting started with the Cisco Service Control Application for Broadband (SCA BB).
This chapter:
•
Guides you through the process of installing or upgrading the Cisco Service Control Application for Broadband (SCA BB)
•
•
•
How to Install SCA BB
You install SCA BB in two stages:
1.
–
–
2.
–
–
If you are upgrading an existing installation of SCA BB, see Upgrading from Version 2.5 to Version 3.1.0 or Upgrading from Version 3.0.x to Version 3.1.0.
The SCA BB Installation Package
The SCA BB installation package is a ZIP file located in the CCO.
The installation package consists of the following files:
•
•
–
–
•
•
•
•
Installing SCA BB Application Components
SCA BB has two software components that reside on the SCE platform:
•
•
SCA BB also has one software component that resides on the SM device:
•
To install these components from the Console, see Installing PQI Files on SCE Devices and Installing PQI Files on SM Devices.
To install these components from a command line, see Installing PQI Files from the Command Line.
Prerequisites
Before installing SCA BB, verify that the SCE platform and, if used, the SCMS-SM are operational and are running appropriate versions of their software.
To Verify that the SCE Platform is Operational:
Step 1
To Verify that the SCE Platform is Running an Appropriate Version of the OS:
SUMMARY STEPS
1.
SCE#), type show version.2.
DETAILED STEPS
Step 1
SCE#), type show version.Step 2
The response shows the version of the OS running on the SCE platform.
To Verify that the SM is Correctly Installed
SUMMARY STEPS
1.
2.
3.
DETAILED STEPS
Step 1
Step 2
Step 3
The response to this command displays the operational status of the SM.
To Verify that an Appropriate Version of the SM is Running
Step 1
Step 2
Step 3
The response to this command displays the SM version.
How to Install SCA BB Front Ends
You should install the following SCA BB front ends:
•
•
–
Hardware Requirements
•
•
Installing the Java Runtime Environment
The SCA BB Service Configuration Utility, servconf, requires access to JRE version 1.4 or 1.5.
You can download a JRE from the Sun™ website at http://java.sun.com/j2se/1.4.2/download.html.
To verify that the JRE is installed, run java -versionfrom the command prompt. The Java version should start with 1.4 or 1.5.
If a different version of JRE is also installed on the workstation, you may need to tell servconf where to find the appropriate JRE. Do this by setting the JAVA_HOME environment variable to point to the JRE 1.4 installation directory. For example:
JAVA_HOME=C:\Program Files\Java\j2re1.4.2_08Installing the Console
SUMMARY STEPS
1.
2.
3.
4.
5.
6.
7.
8.
9.
10.
DETAILED STEPS
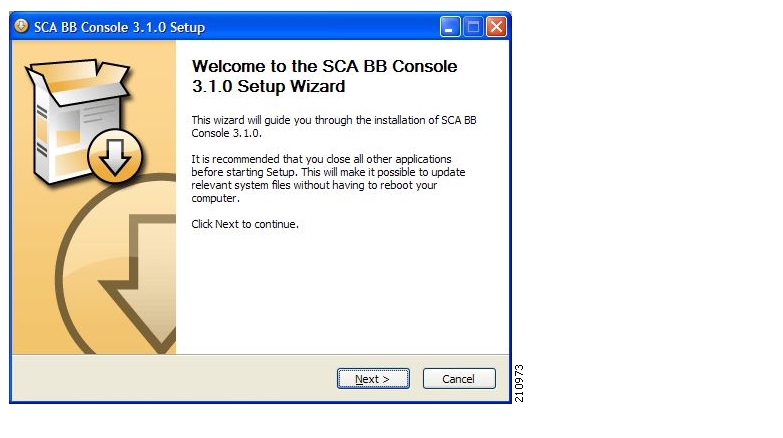
Step 1
The Welcome view of the SCA BB Console 3.1.0 Setup Wizard appears.
Figure 4-1
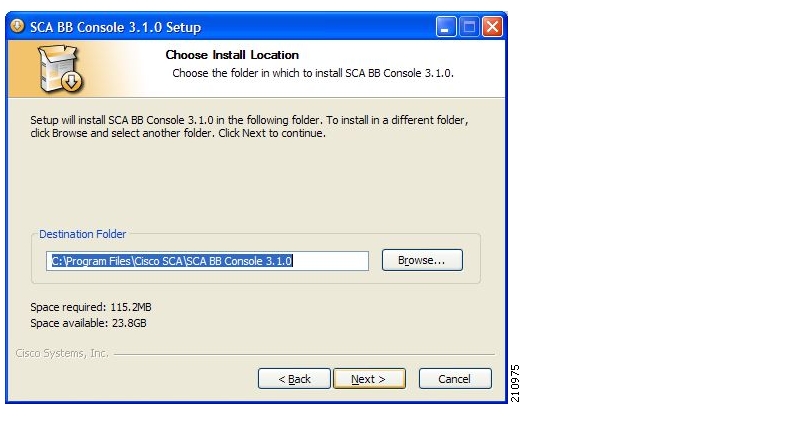
Step 2
The Install Location screen of the Setup Wizard opens.
Figure 4-2
Step 3
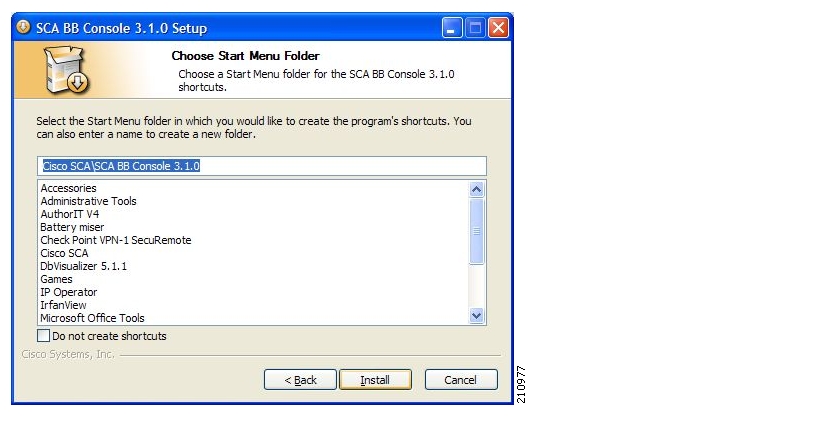
Step 4
The Start Menu Folder screen of the Setup Wizard opens.
Figure 4-3
Step 5
Step 6
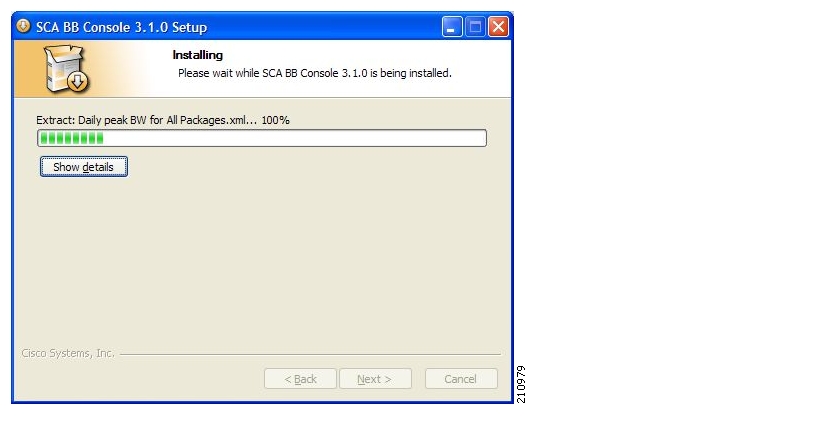
Step 7
The Installing screen of the Setup Wizard opens.
Figure 4-4
Step 8
The Next button is enabled.
Step 9
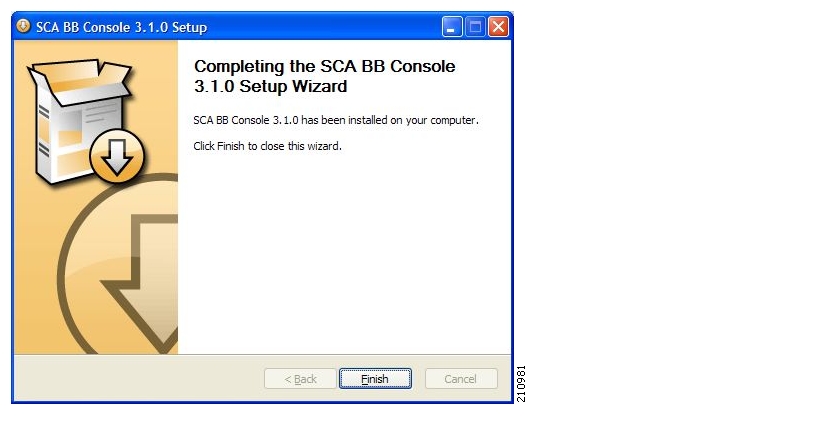
The Installation Complete screen of the Setup Wizard opens.
Figure 4-5
Step 10
The SCA BB Console 3.1.0 Setup Wizard closes.
The Console is now installed on the machine.
Installing the SCA BB Configuration Utilities
Step 1
Step 2
The SCA BB Service Configuration Utility ( servconf ), the SCA BB Real-Time Monitoring Configuration Utility ( rtmcmd ) (and associated real-time monitoring report templates), and the SCA BB Signature Configuration Utility ( sigconf ) are located under the bin folder.
How to Upgrade SCA BB
•
•
•
Upgrading from Version 2.5 to Version 3.1.0
Upgrading SCA BB includes upgrading each of the following software components:
•
•
•
Note
SUMMARY STEPS
1.
2.
3.
4.
5.
6.
7.
8.
9.
10.
11.
12.
13.
DETAILED STEPS
Step 1
Note
Step 2
Step 3
Step 4
a.
b.
c.
Step 5
a.
b.
Step 6
Step 7
When you upgrade old PQB files, new signature-based protocols are not assigned to any service (and are therefore classified as Generic TCP).
Step 8
•
•
Protocol ID of BaiBao changed from 80 to 43
Protocol ID of PPLive changed from 81 to 44
•
•
Upgrading from Version 3.0.x to Version 3.1.0
Upgrading SCA BB includes upgrading each of the following software components:
•
•
•
Note
SUMMARY STEPS
1.
2.
3.
4.
5.
6.
7.
8.
9.
10.
11.
12.
13.
DETAILED STEPS
Step 1
Note
Step 2
Step 3
Step 4
a.
b.
c.
Step 5
a.
b.
Step 6
Step 7
When you upgrade old PQB files, new signature-based protocols are not assigned to any service (and are therefore classified as Generic TCP).
Step 8
•
•
Protocol ID of BaiBao changed from 80 to 43
Protocol ID of PPLive changed from 81 to 44
•
•
Upgrading the SCA BB Service Configuration Utility
Step 1
See Installing the SCA BB Configuration Utilities.
How to Install Protocol Packs
SCA BB uses stateful Layer 7 capabilities for classification of traffic flows.
When a traffic flow is handled by the system, it is assigned a signature ID according to the set of Layer 3 to Layer 7 parameters (the signature) characterizing this flow. Typically, these signatures come embedded in SCA BB.
In order to enable rapid response to the ever-changing protocol environment, SCA BB was enhanced to allow signatures to be updated dynamically. You can load a protocol support plug-in onto an operational system, enhancing the system's protocol support without compromising the stability of the system (no update of an existing software component is required) and without any service downtime.
Protocol Packs
Periodically, Cisco publishes protocol packs containing new and improved protocol signatures for SCA BB. A typical protocol pack is a file containing signatures for detecting network worms, popular peer-to-peer applications, and other relevant protocols. When loaded into SCE platforms, these signatures improve SCA BB classification abilities.
Note
A protocol pack for SCA BB may be either a DSS file or an SPQI file:
•
•
–
–
Note
Updating Protocols
•
•
Distributing Protocol Packs
You install a protocol pack on an SCE platform using one of the following:
•
•
Note
The tool or utility performs the following steps:
1.
2.
3.
4.
5.
If the protocol pack is an SPQI file and the hitless upgrade option is enabled, you can monitor the progress of the upgrade using Hitless Upgrade CLI Commands.
Verifying Version Compatibility for Protocol Packs
A protocol pack is compatible only with specific versions of the SCE application. When working with protocol packs, you should verify that the protocol pack version matches the SCE application version. For example, only use a protocol pack for 3.1.0 on SCE application version 3.1.0.
The version compatibility information for each protocol pack is included in the protocol pack's release notes.
Step 1
•
•
The version of the utility should match that of the protocol pack.
Step 2
•
•
The application version should match that of the protocol pack.
Step 3
•
Installing a Protocol Pack with the Network Navigator
The Network Navigator allows easy installation of protocol packs.
You can install protocol packs on one, several, or all SCE platforms at one or more selected sites.
•
•
•
Installing a Protocol Pack on a Single SCE Platform
SUMMARY STEPS
1.
2.
3.
4.
5.
6.
7.
8.
9.
10.
DETAILED STEPS
Step 1
Step 2
The Update Dynamic Signature Pack dialog box appears.
Figure 4-6
Step 3
A Select file dialog box appears.
Step 4
Step 5
Step 6
The Select file dialog box closes.
Step 7
Step 8
A Password Management dialog box appears.
Step 9
For more information, refer to Password Management.
Step 10
The Password Management dialog box closes.
An Update Dynamic Signature Pack progress bar appears.
The service configuration on the SCE platform is updated.
Installing a Protocol Pack on Multiple SCE Platforms
Step 1
Step 2
The Update Dynamic Signature Pack dialog box appears.
Step 3
Step 4
Note
Step 5
A separate Password Management dialog box appears for each SCE device that you selected.
Step 6
The protocol pack is installed on each SCE platform in turn.
Verifying the Installation of a Protocol Pack
Step 1
Step 2
The response shows the version of the OS running on the SCE platform. This includes information about the installed protocol pack version.
Step 3
Verify that the new protocols from the protocol pack were added to the service configuration.
The problems that may cause the installation of a protocol pack to fail and their remedies include:
•
•
•
•
When reporting problems to Cisco, please include the servconf log file, located at <user.home>\.p-cube\servconf.log. On Windows, this usually maps to C:\Documents and Settings\<username>\.p-cube\servconf.log.
Hitless Upgrade of the SLI
Hitless upgrade is the SCA BB method of upgrading the software components that reside on the SCE platform without incurring any service downtime.
•
•
If hitless upgrade is enabled, classification, reporting, and control continue uninterrupted when you install an SPQI file (see How to Install Protocol Packs ). You can install SPQI files using either the Console or servconf , the SCA BB Service Configuration Utility. An SPQI file is a package that includes the required (SLI) files. After the new application is loaded on the SCE platform:
•
•
•
Until all old flows die or are killed, the hitless upgrade is considered to be in progress. In order to make the hitless upgrade process bounded, you can set criteria that will trigger the explicit killing of all flows still executing on the old application. Two such criteria exist:
•
•
The default value for the first criterion is 60 (minutes); the default value for the second is zero (flows). This means that the replace operation is guaranteed to complete after no more than one hour (sooner, if all old flows die naturally), but no old flows are killed by the application before one hour passes.
These criteria are configurable by CLI commands.
You can initiate the explicit killing of all old flows using a manual command.
Entering Line Interface Configuration Mode
•
•
Hitless Upgrade CLI Commands
You can configure, monitor, and control hitless upgrade using the SCE platform Command-Line Interface (CLI). For more information about the SCE platform CLI, see the Cisco Service Control Engine (SCE) CLI Command Reference .
The commands listed here are explained in the following section.
Use the following CLI commands to configure the criteria for completing a hitless upgrade:
replace completion time
<minutes>
no replace completion timedefault replace completion timereplace completion num-flows <num>no replace completion num-flowsdefault replace completion num-flowsThese commands are line interface configuration commands. To run these commands you must enter line interface configuration mode and see the
SCE(config if)#prompt displayed.Description of Hitless Upgrade CLI Commands
The following table gives a description of the hitless upgrade CLI commands listed in the previous section.
Step 1
(SCE#), type: configure.Step 2
The
SCE(config)#prompt appears.Step 3
Step 4
The
SCE(config if)#prompt appears.
Note
Note
show applications slot <num>replace
Note
application slot <num>replace force completion
Launching the Console
The SCA BB Console Setup Wizard adds a shortcut to the start menu for the Console.
Step 1
The Cisco Service Control SCA BB Console splash screen appears.
Figure 4-7
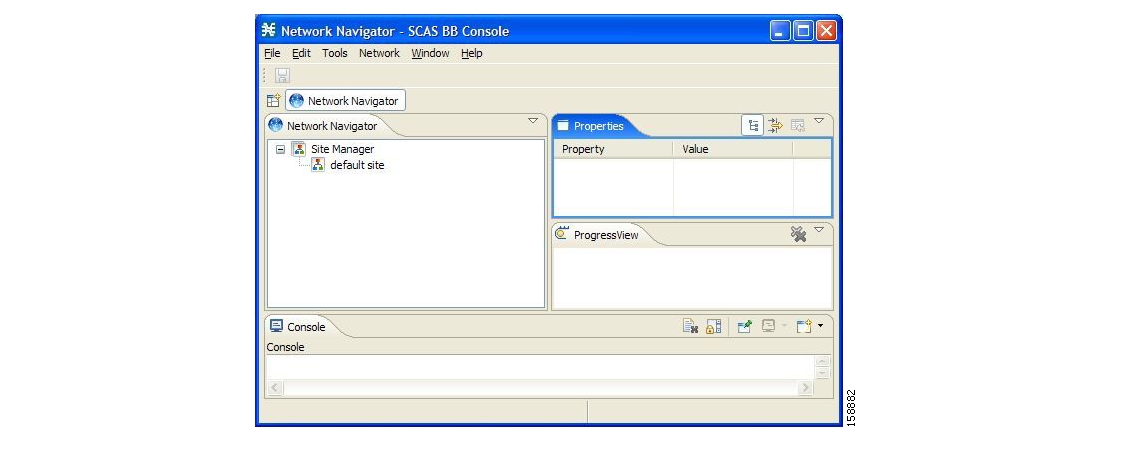
After the Console has loaded, the main window of the Console appears, with the Network Navigator tool open.
Figure 4-8
Note
Using the Console
The Console is the front end of SCA BB. You use it to configure the services that the SP offers its clients.
The Console consists of the following tools:
•
•
•
•
•
The Console GUI has a menu bar and a standard toolbar. Underneath the toolbar is another bar that displays the button of any open Console tool. When you launch a tool, a button is added to this bar. To switch between open tools, click the appropriate button on the bar.
The Network Navigator Tool
Figure 4-9
Note
The Network Navigator is a tool that allows you to create and manage a simple model of all local and remote devices that are part of the Cisco Service Control solution.
For more information about the Network Navigator, see Using the Network Navigator.
•
•
Opening the Network Navigator Tool
Step 1
The Network Navigator tool opens.
Figure 4-10
Closing the Network Navigator Tool
Step 1
Step 2
The Network Navigator tool closes.
The Service Configuration Editor Tool
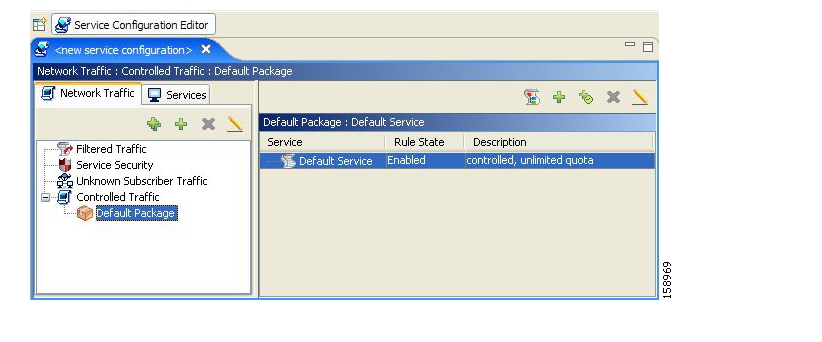
The Service Configuration Editor is a tool that allows you to create service configurations. A service configuration is a data structure that defines how the SCE platform analyses network traffic, what rules apply to the traffic, and what actions the SCE platform takes to enforce these rules.
Most of this document discusses using the Service Configuration Editor. See Using the Service Configuration Editor.
Opening the Service Configuration Editor Tool
Step 1
A No Service Configuration Is Open dialog box appears.
Figure 4-11
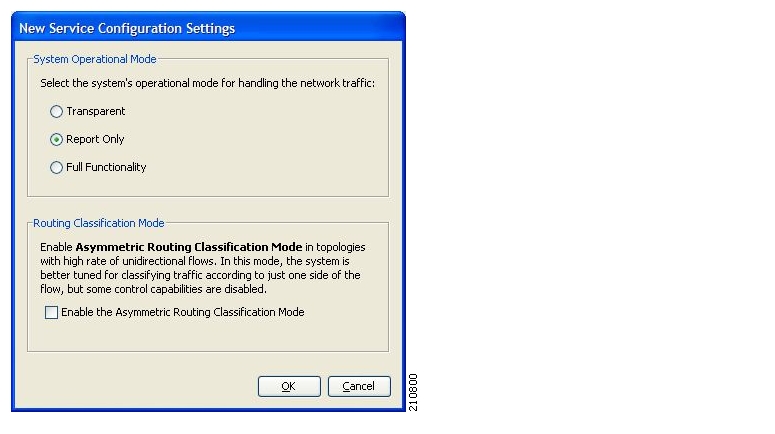
Step 2
A New Service Configuration Settings dialog box appears.
Figure 4-12
Step 3
•
•
•
Note
Step 4
Note
Step 5
A default service configuration opens in the Service Configuration Editor tool.
Figure 4-13
Closing the Service Configuration Editor Tool
Step 1
Step 2
The Service Configuration Editor tool closes.
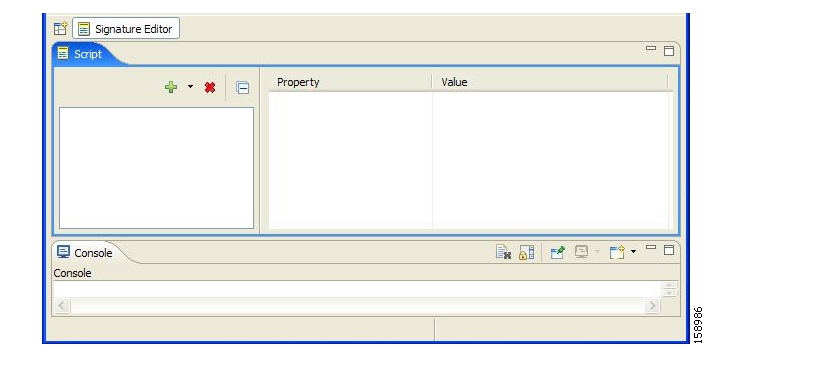
The Signature Editor Tool
The Signature Editor is a tool that allows you to create and modify files that can add and modify protocols and protocol signatures in SCA BB.
For more information about the Signature Editor, see Using the Signature Editor.
•
•
Opening the Signature Editor Tool
Step 1
The Signature Editor tool opens.
Figure 4-14
Closing the Signature Editor Tool
Step 1
Step 2
The Signature Editor tool closes.
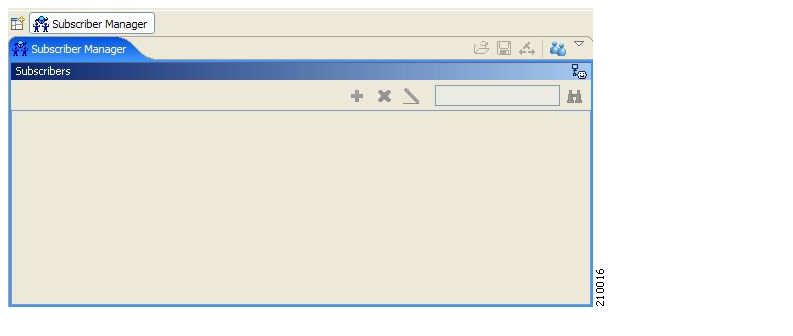
The Subscriber Manager GUI Tool
The Subscriber Manager (SM) GUI is a tool that allows you to connect to an SCMS-SM and then manage subscribers, assign packages to subscribers, edit subscriber parameters, and manually add subscribers.
For more information about connecting to an SCMS-SM and using the SM GUI, see Using the Subscriber Manager GUI Tool.
For more information about the SCMS-SM, see the Cisco Service Control Management Suite Subscriber Manager User Guide .
Opening the SM GUI Tool
Step 1
The SM GUI tool opens.
Figure 4-15
Closing the SM GUI Tool
Step 1
Step 2
The SM GUI tool closes.
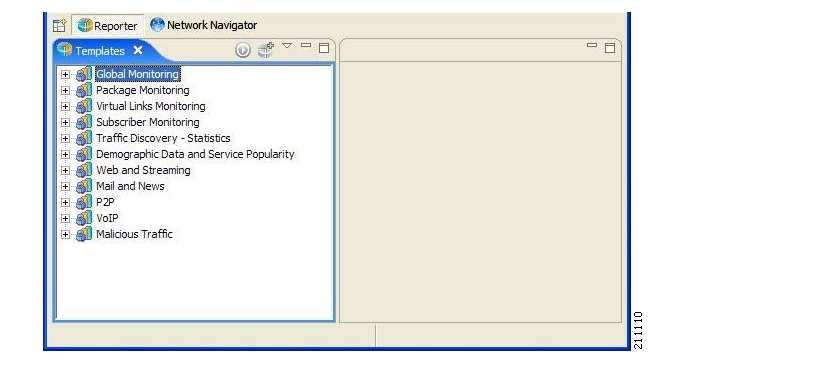
The Reporter Tool
The Cisco Service Control Application (SCA) Reporter is a tool that allows you to query the Cisco Service Control Management Suite (SCMS) Collection Manager (CM) RDR database, and present the results in a chart or a table. This valuable tool helps you to understand the habits and resource consumption of the applications and subscribers that use your network. It also helps you evaluate the efficacy of various rules and the possible impact of their implementation on the network. You can view the reports in both tabular and chart formats, export them, save them, and edit their appearance.
You can run the SCA Reporter as a standalone or inside the Reporter tool in the Console. For more information about the SCA Reporter, see the Cisco Service Control Application Reporter User Guide .
Opening the Reporter Tool
Step 1
The Reporter tool opens.
Figure 4-16
Note
Closing the Reporter Tool
Step 1
Step 2
The Reporter tool closes.
Accessing Online Help
You can access relevant parts of this user guide from the Console.
Accessing Online Help
Step 1
Online help opens in a separate window.
Searching Online Help
You can also search online help from the current tool.
SUMMARY STEPS
1.
2.
3.
4.
5.
DETAILED STEPS
Step 1
The Help view opens next to the current tool.
Figure 4-17
Step 2
The Go button is enabled.
Note
Step 3
Help topics containing your search expression are listed under Local Help.
Step 4
You can bookmark topics for later reference.
Step 5
•
•
•
Quick Start with the Console
This Quick Start section will help you get started with the Console. You will add an SCE device to the default site and apply the default service configuration to the SCE.
Step 1
Choose Start >All Programs >Cisco SCA >SCA BB Console 3.1.0 >SCA BB Console 3.1.0.
Step 2
From the Console main menu, choose Tools >Network Navigator.
This step sets up the Console for network device operations.
Note
You should now be able to see the default site displayed in the Network Navigator view.
Step 3
a.
The Create new SCE wizard appears.
In the Address field, enter the actual IP address of an SCE platform.
b.
The Create new SCE wizard closes.
The new device is added to the site.
Step 4
a.
A Password Management dialog box appears.
b.
The SCE online status is retrieved.
c.
Step 5
•
The Service Configuration Editor opens.
A No Service Configuration Is Open dialog box appears.
Step 6
a.
A New Service Configuration Settings dialog box appears.
b.
A default service configuration opens in the Service Configuration Editor tool.
Step 7
a.
( Apply Service Configuration to SCE Devices).
A Password Management dialog box appears.
b.
The service configuration is applied to the SCE platform.
![]()
![]()
![]()
![]()
![]()
![]()
![]()
![]()
Posted: Wed May 30 12:27:54 PDT 2007
All contents are Copyright © 1992--2007 Cisco Systems, Inc. All rights reserved.
Important Notices and Privacy Statement.