| United States-English |
|
|
|
Ignite-UX Administration Guide: for HP-UX 11i > Chapter 10 Booting and Installing HP-UX on Clients Using the ServerInstallation Using the Ignite-UX GUI |
|
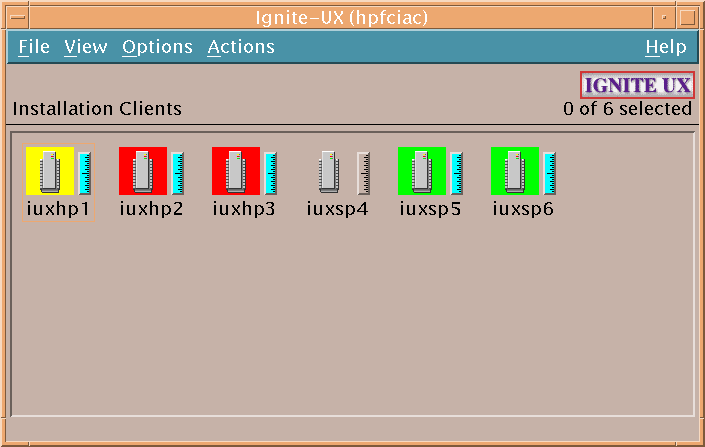
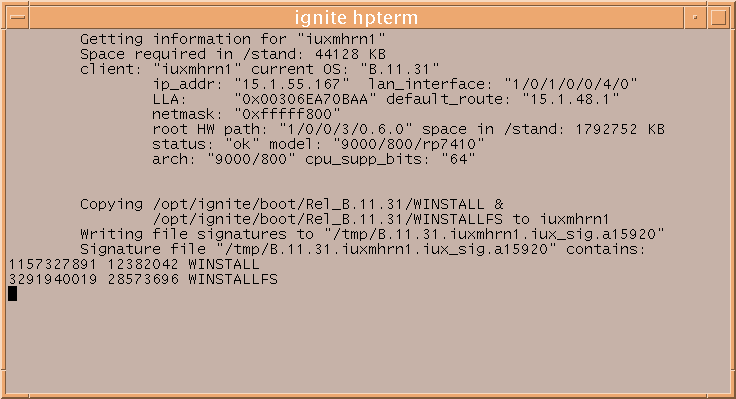
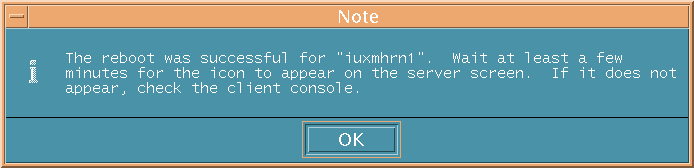
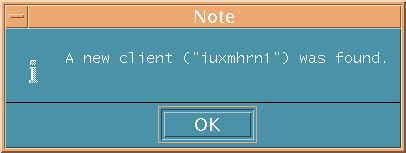
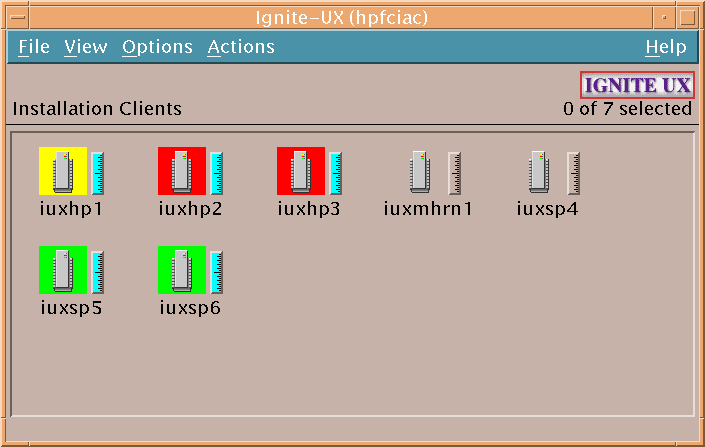
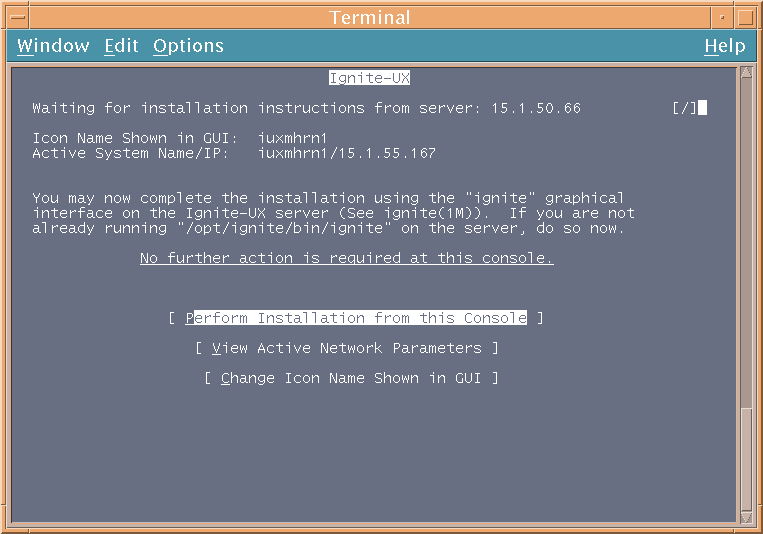
This section describes how to add clients to the Ignite-UX server using the GUI, and then how to use the GUI to manage Ignite-UX tasks. The Ignite-UX GUI only runs on an Ignite-UX server. Ignite uses a terminal user interface (TUI) with keyboard navigation when run remotely from a client or other system. This section does not address configuring the Ignite-UX server for network boot. To do that, see Chapter 3 and Chapter 4. Begin your installation process with “Preparing the Client for Installation ”. Launch Ignite-UX on the server as superuser: The Ignite-UX GUI will be displayed, similar to Figure 10-2. If this is the first time Ignite-UX has been run on this server, a message will be displayed first, informing you that there are no clients found (Figure 3-1). The Ignite-UX welcome dialog box will also be displayed unless you have previously checked the Do not show this screen again checkbox (Figure 3-2). A client must already be running HP-UX in order to be added to the Ignite-UX server. If the client is not running, see “Booting PA-RISC Clients from the Console ” or “Booting Itanium-Based Clients using the Network”. There are two ways to add a client:
After a client is displayed in the GUI workspace, you can:
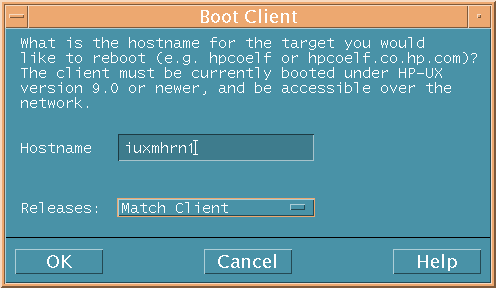
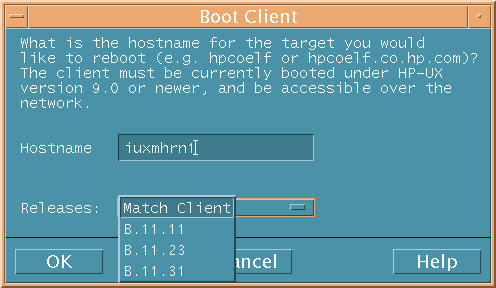
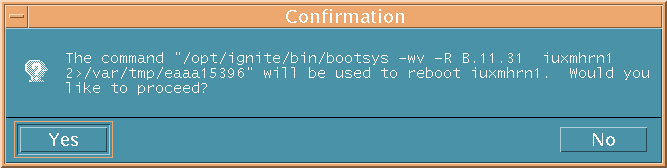
For more about the available Ignite-UX selections, see “Introduction to the Ignite-UX Graphical User Interface”, or select Help. To add a client to the Ignite-UX server, use the GUI to boot a client currently running HP-UX. To boot a client, follow these steps:
|
||||||||||||||||||||||||||||||||||||||||||||||||||||||||||
|
|||||||||||||||