|
|

Table Of Contents
Preparing To Install Components
Broadband Provisioning Registrar Components
Broadband Provisioning Registrar Database Requirements
Installing from the Graphical User Interface
Preparing To Install Components
This chapter provides the information you need to prepare for a successful BPR component installation.
This chapter contains the following topics:
•
BPR components
•
•
•
•
Broadband Provisioning Registrar Components
The BPR installation program prompts you to install one or more of the following components:
•
–
–
–
•
Note
•
Although the installation program supports installing the three components on the same computer, in practice, you are likely to run the program on at least three computers:
1.
2.
3.
Order of Operations
To ensure a smooth installation and startup process, follow the order of operations listed in Table 2-1.
Table 2-1 Order of Operations
1.
Determine which components you are installing and on what computers.
2.
Verify the file system block size of the directory in which you intend to install the BPR database and database transaction log files. See the "Broadband Provisioning Registrar Database Requirements" section.
3.
Review the installation checklist. See the "Installation Checklist" section.
4.
Install the RDU. When you install the RDU, ensure that you do the following:
•
•
•
•
5.
Install and configure Network Registrar 5.0.9 or greater, if it is not already installed on your systems. For more information, see the Network Registrar Installation Guide.
When you install Network Registrar, ensure that you do the following:
•
•
•
•
•
6.
If you intend to develop software that interoperates with BPR, install the BPR application programming interface on client workstations.
Broadband Provisioning Registrar Database Requirements
Before you install BPR, be aware of the following database considerations:
•
•
File System Block Size
For optimum performance and reliability of the BPR database, configure the file system or systems that contain the database files and database log files with an 8 KB block size or greater. If your system configuration does not support an 8 KB block size, then configure the block size in multiples of 8 KB; for example, 16 KB or 32 KB.
The installation program prompts you to specify a directory in which to install database files and database log files. These directories are identified in BPR with system variables, BPR_DATA and BPR_DBLOG respectively.
To verify that a directory resides on a file system with an 8 KB block size, follow these steps:
Step 1
Example output from the mount command is as follows:
/var on /dev/dsk/c0t0d0s4 read/write/setuid/intr/largefiles/onerror=panic/dev=2200004 on
Mon Nov 26 08:07:53 2001
In this example, the file system device is /dev/dsk/c0t0d0s4.
Step 2
# df -g /dev/dsk/c0t0d0s4Example output from the df command is as follows:
/var (/dev/dsk/c0t0d0s4 ): 8192 block size 1024 frag size961240 total blocks 851210 free blocks 755086 available 243712 total files239730 free files 35651588 filesys idufs fstype 0x00000004 flag 255 filename lengthIn this example, the block size is 8192 bytes, which is 8 KB. The block size of the selected directory, therefore, is correct.
Large File Support
Ensure that the file system in which you place database files is configured to support files above 2 GB.
To verify large file support, follow these steps:
Step 1
Step 2
Example output from the mount command is as follows:
/var on /dev/dsk/c0t0d0s4 read/write/setuid/intr/largefiles/onerror=panic/dev=2200004 on
Mon Nov 26 08:07:53 2001
In this example, the output contains the keyword largefiles. This file system, therefore, can support files greater that than 2 GB.
Installation Checklist
Before you run the installation software, use the following checklist to ensure that you are ready:
•
•
•
•
•
Note
•
•
Note
•
•
•
Initial Installation Steps
The initial steps in the BPR installation program are identical regardless of the BPR component you are installing. This section describes how to work with the installation program and the initial installation steps.
You install BPR from either a graphical user interface (GUI) or a command line interface (CLI).
Installing from the Graphical User Interface
To install BPR from the GUI follow these initial steps:
Step 1
Step 2
Step 3
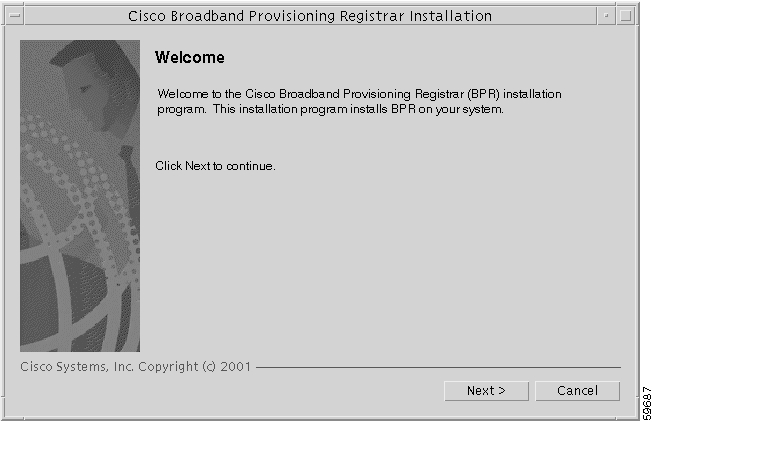
> setup.binThe installation program verifies that you have installed the required patches to the Solaris 8 operating system and are running a supported version of Network Registrar. When the verification is complete, the Welcome screen appears ( Figure 2-1).
Note
Figure 2-1 Broadband Provisioning Registrar Welcome Screen
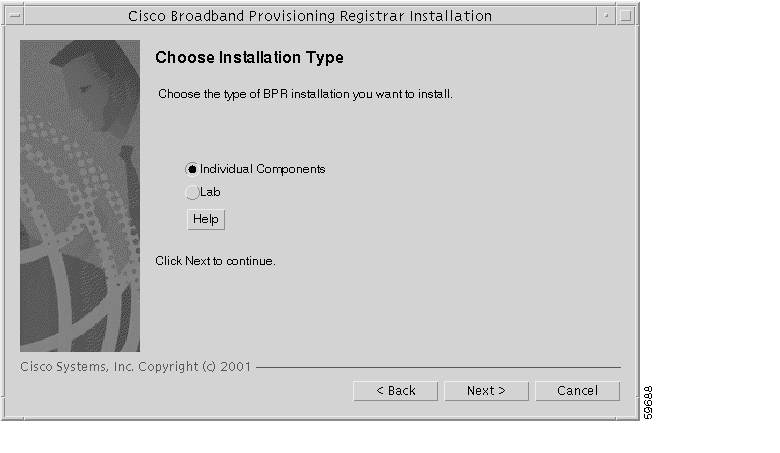
Step 4
Figure 2-2 Choose Installation Type Screen
Step 5
•
•
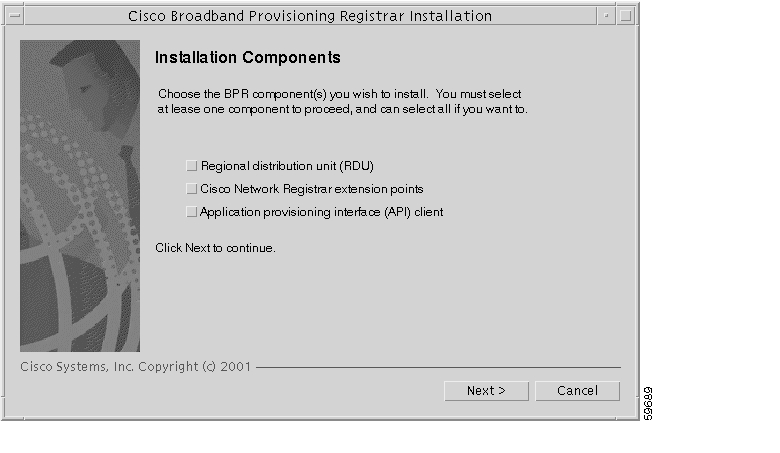
Step 6
Figure 2-3 Installation Components Screen
Installing from the Command Line
To perform the initial installation procedure from the command line, follow these steps:
Step 1
Step 2
Step 3
> setup.bin -consoleThe installation program verifies that you have installed the required patches to the Solaris 8 operating system and a supported version of Network Registrar. When the verification is complete, the program displays welcome information.
Step 4
•
•
Step 5
Choose Installation TypeChoose the type of BPR installation you want to install.The Lab installation will store all components in the chosen destination.Otherwise, you can select individual components and destinations.Enter C for individual components or L for lab [C]:cThe program prompts you to confirm the installation type.
Step 6
To install individual components go to the "Installing Components Using the CLI" section on page 3-16. To install in a lab environment go to the "Installing in a Lab Environment Using the CLI" section on page 4-5.
![]()
![]()
![]()
![]()
![]()
![]()
![]()
![]()
Posted: Tue Nov 30 14:28:16 PST 2004
All contents are Copyright © 1992--2004 Cisco Systems, Inc. All rights reserved.
Important Notices and Privacy Statement.