|
|

Table Of Contents
Getting Started with Cisco ADS
Prerequisites for Cisco ADS Installation and Operation
Set E-mail and SMTP Server Information
Create a New PEP from a Template
Getting Started with Cisco ADS
Cisco Application-Oriented Networking (AON) technology is the foundation for a class of network-embedded products and solutions that help converge intelligent networks with application infrastructure.
AON technology works at the application-message level by inspecting a full message, including all headers and content. It therefore understands the context of the message and can operate on those messages while they are in transit and according to business policies. AON enables you to embed intelligence capabilities into the network and significantly improve application communication.
To enable AON technology in your network, you use the following tools:
•
Cisco AON Development Studio (ADS)—Windows-based tool for configuring how application messages are handled at runtime.
•
This chapter describes how to get started using ADS.
Note
•
–
–
•
–
–
Contents
•
Prerequisites for Cisco ADS Installation and Operation
•
•
•
•
•
Note
Information About Cisco ADS
AON technology operates on your network switches and routers by means of Bladelets, Policy Execution Plans (PEPs), and message types that specify how to process particular traffic streams.
•
ADS provides a repository of predefined Bladelets that are organized by category—for example, general, logic, message handling, routing, security, transformation, and so on.
•
•
You use ADS to assemble and interconnect multiple Bladelets into a PEP and assign to the PEP one or more message types. You then synchronize your ADS with your network's AMC server to deploy the PEP across your network switches and routers. AON-enabled switches and routers constitute a logical network of nodes that operate at Layer 5 and Layer 6 of the Open System Interconnection (OSI) model.
How to Use Cisco ADS
This section provides the following information:
•
Installing Cisco ADS
To install ADS, perform the following steps.
Step 1
Step 2
Step 3
Step 4
Step 5
Step 6
•
•
Step 7
•
•
Step 8
•
•
Step 9
Step 10
Note
Starting Cisco ADS
To start ADS, perform the following steps.
Note
Step 1
Note
Login Window
Step 2
a.
•
•
•
•
Figure 1 ADS Login Window
b.
Note
Exploring Cisco ADS
To explore and familiarize yourself with Cisco ADS, examine the following:
Initial ADS Window
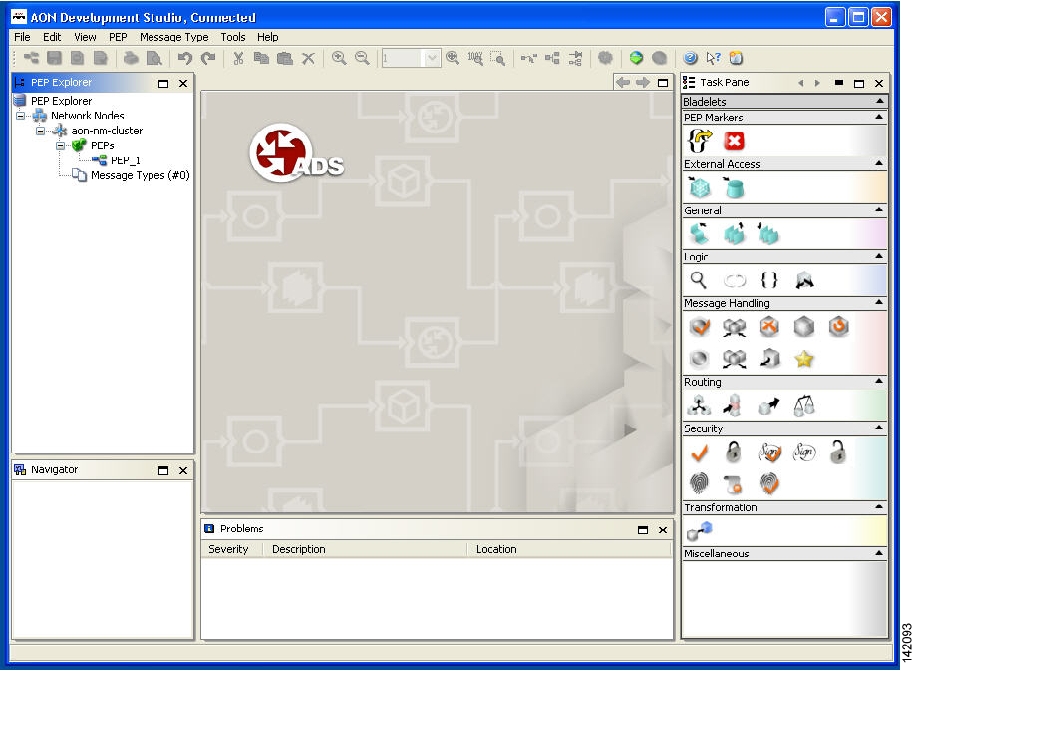
You must familiarize yourself with the initial ADS window ( Figure 2) and all the panes.
Note
Figure 2 Initial ADS Window
ADS Toolbar and Icon Barl
The toolbar and an icon bar (icons are dimmed until operable) appear across the top.
Icons ( Figure 3) provide shortcuts to various ADS functions, most of which you can also access both from the toolbar and by means of a mouse right-click. You can determine what an operable (that is, undimmed) icon does by holding your mouse over it.
Figure 3 ADS Toolbar and Icon Bar
Note
PEP Explorer Pane
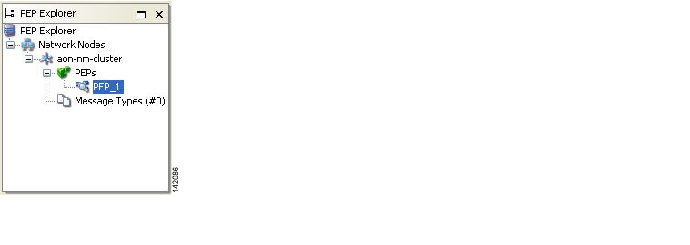
The PEP Explorer pane ( Figure 4) in the upper left portion of the window displays the hierarchy of available system nodes and associated PEPs and message types that reside in your ADS. The PEPs and message types are of your own creation or were created by others and downloaded to your ADS during synchronization with the AMC server. You can turn the display on or off by clicking View and checking or unchecking PEP Explorer.
Figure 4 ADS WIndow: PEP Explorer Pane
For you to be able to create a PEP and message type, at least one node must have been created on the AMC server and displayed on your ADS. You can create any number of PEPs and message types beneath a node.
After you synchronize your ADS with the AMC server, the PEP Explorer pane refreshes to display any additional PEPs that other users may have posted to the AMC server.
Navigator Pane
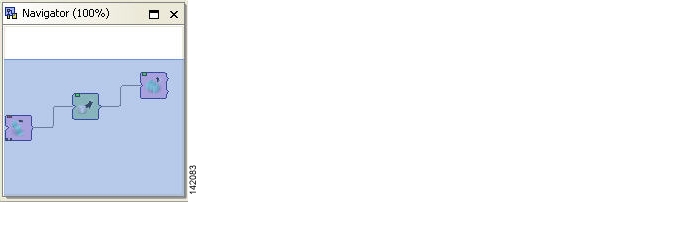
The Navigator pane ( Figure 5) in the lower left portion of the window displays a map of the entire PEP that you are configuring and, in blue, the portion of that mat that is displayed in the PEP Developer pane (described below). It enables you to navigate to different parts of the PEP quickly and easily, which is particularly useful if the PEP is large and complex. You can turn the display on or off by clicking View and checking or unchecking Navigator.
Figure 5 ADS Window: Navigator Pane
PEP Developer Pane
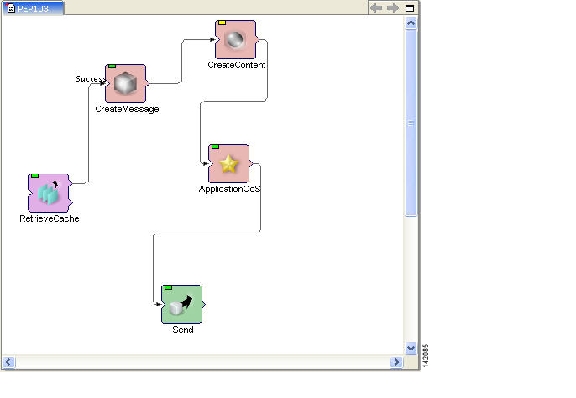
The PEP Developer pane ( Figure 6) in the middle of the window is your workspace for designing a PEP. You drag and drop various Bladelets to that pane and interconnect them to create a PEP. This pane is always displayed.
You can display multiple PEPs at one time, each within its own tabbed view in the pane. PEP names are displayed in the tabs and also in the PEP Explorer pane hierarchy.
Figure 6 ADS WIndow: PEP Developer Pane
Note
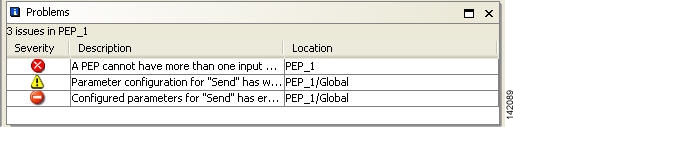
Problems Pane
The Problems pane ( Figure 7) beneath the PEP Developer window displays a list of critical problems, errors, and alerts, as follows:
•
•
•
Figure 7 ADS Window: Problems Pane
You can rearrange the display by clicking any of the column headings (Severity, Description, and Location). By default, problems are displayed by severity type (critical problem or alert) and, within a severity type, in alphabetical order. You can toggle between ascending and descending order by clicking a heading. You can turn the display on or off by clicking View and checking or unchecking Problems. Double-clicking any individual problem selects the offending Bladelet in the PEP Developer pane.
Task Pane
The Task pane ( Figure 8) on the right side of the window is the source from which you drag and drop Bladelets into the PEP Developer pane. You can turn the pane display on or off by clicking View and checking or unchecking Task.
ADS provides a predefined list of Bladelets for you to use. Different Bladelet categories have different functions.
Note
–
–
For information on these and other predefined Bladelets, see "ADS Bladelets Reference" chapter.
•
For information on custom Bladelets, see the AON Programming Guide.
Figure 8 ADS Window: Task Pane
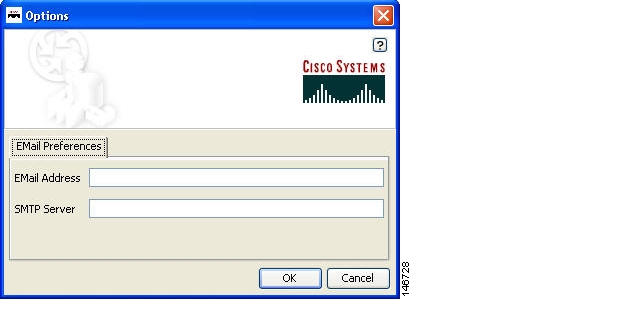
Set E-mail and SMTP Server Information
Step 1
a.
b.
Figure 9 Options to set Email Preferences
c.
Step 2
Note
Creating PEPs
To create a PEP, perform the following steps.
Timesaver
Step 1
Step 2
Step 3
Note
Step 4
•
The PEP name must start with an alphabet and should consist of underscores and alpha numeric characters. The PEP name cannot start with either a number or an underscore.
•
The Package name must start with an alphabet and should consist of underscores and alpha numeric characters. The Package name cannot start with either a number or an underscore.
Caution
Note
Figure 10 PEP Attributes Window
Note
Use the default name (PEP N) or assign a new name. If a PEP with the same name exists, the OK button in this window is dimmed, enforcing the rule that every PEP name must be unique.
The package is an optional mechanism for organizing your PEPs in one area of a node. You can assign one or more PEPs to a package. The default is to leave the package field blank. We recommend that you either leave it blank or define it later, just before you deploy the PEP. If you define it now, make sure it is defined correctly; you cannot change it later.
For information on PEP attributes, see "ADS PEP Attributes Reference" chapter.d.
Note
e.
•
•
f.
g.
•
•
The line and arrow connecting the two Bladelets show the path over which and direction in which information passes through the PEP.
Note
h.
•
•
i.
•
•
Figure 11 Branching Bladelet with Success and Failure Paths
j.
1.
2.
Note
3.
4.
k.
Typical GUI edit options are available, including those listed in Table 1(listed in their order of appearance on the icon bar).
Typical GUI view options are available, including those listed in Table 2 (listed in their order of appearance on the icon bar).
Typical GUI layout options are available, including those listed in Table 3 (listed in their order of appearance on the icon bar).
l.
1.
2.
Note
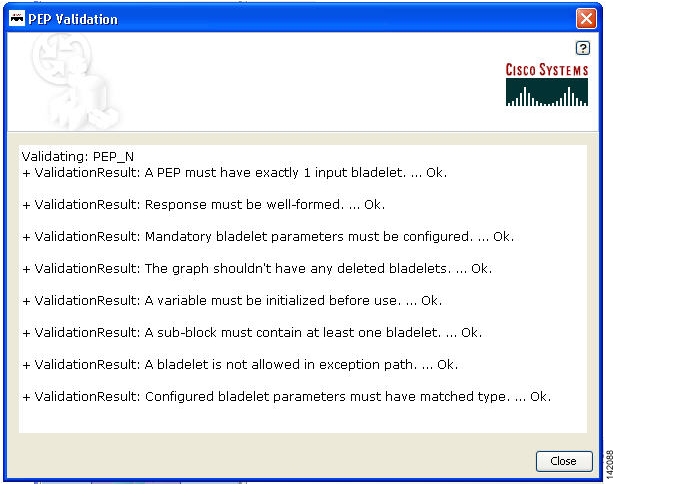
Figure 12 PEP Validation Report
m.
•
•
n.
o.
Step 5
Note
Step 6
a.
b.
c.
Note
Step 7
Step 8
a.
b.
c.
Step 9
Save a PEP with a New Name
To save an existing PEP with a new PEP name, perform the following steps.
Step 1
Step 2
•
The PEP name must start with an alphabet and should consist of underscores and alpha numeric characters. The PEP name cannot start with either a number or an underscore.
•
The Package name must start with an alphabet and should consist of underscores and alpha numeric characters. The Package name cannot start with either a number or an underscore.
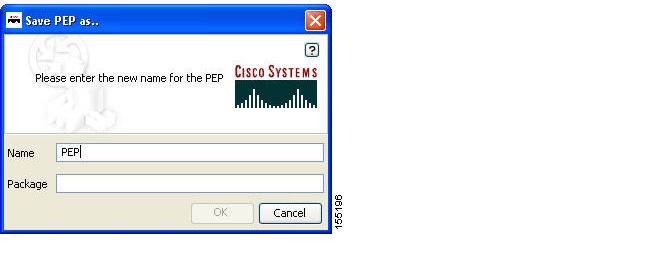
Figure 13 Save PEP with a New PEP Name
Step 3
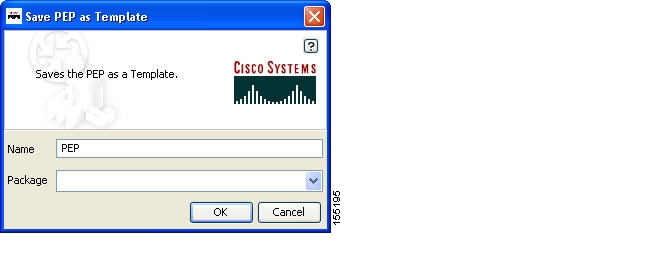
Save a PEP as a Template
To save an existing PEP as a template, perform the following steps.
Step 1
Step 2
•
The PEP name must start with an alphabet and should consist of underscores and alpha numeric characters. The PEP name cannot start with either a number or an underscore.
•
The Package name must start with an alphabet and should consist of underscores and alpha numeric characters. The Package name cannot start with either a number or an underscore.
Figure 14 Save PEP as a Template
Step 3
Create a New PEP from a Template
To create a new PEP from an existing template, perform the following steps.
Step 1
Step 2
Figure 15 Create New PEP from a Template
Step 3
Deploying PEPs
Deploying PEPs involves synchronizing your ADS with the AMC server. ADS posts your valid PEPs and message types to the server. The server posts new nodes, PEPs, Bladelets, message types, and other information to your ADS for your use.
To deploy one or more PEPs (and associated message types), perform the following steps.
Timesaver
Step 1
Caution
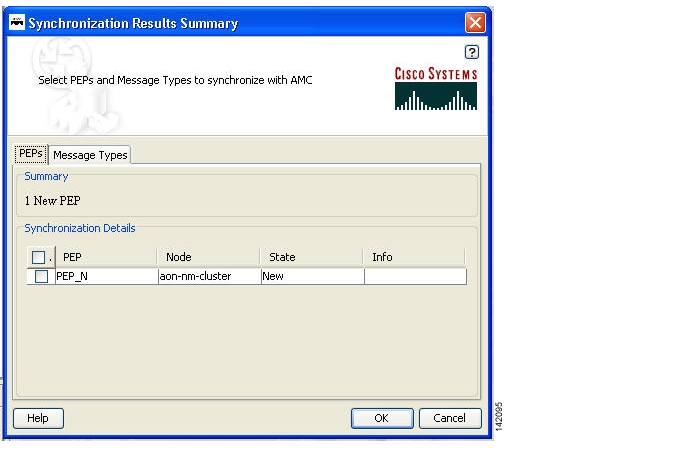
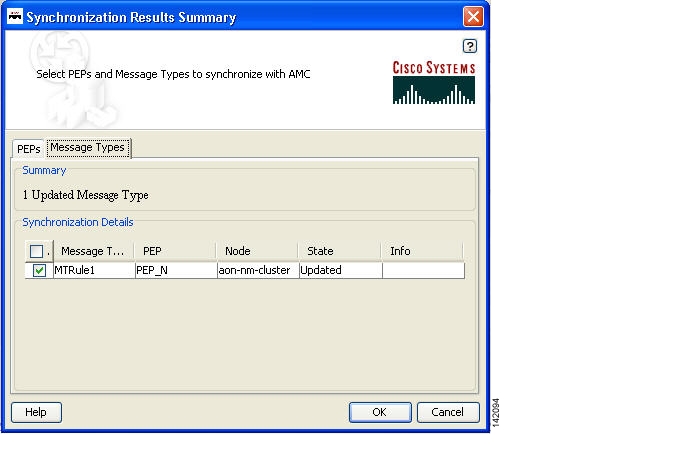
Step 2
a.
b.
c.
During synchronization, your selections post to the AMC server, and any updates on the server post to your ADS.
Figure 16 Synchronization Window: PEPs
Figure 17 Synchronization Window: Message Types
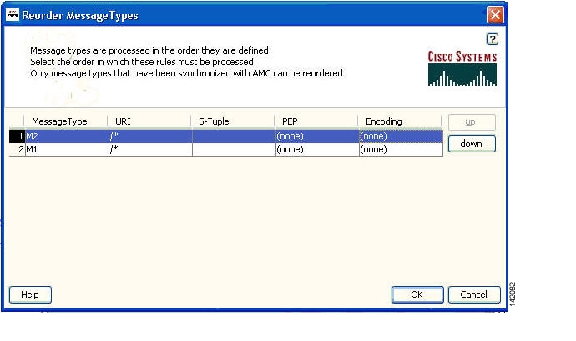
Create Message Types
Once you create a new PEP, you can apply one or more message types to it. A message type acts as the determining factor for what messages will be drawn through the particular PEP. For this reason, the order of the message types is critical as each level of message type filters what goes through it. If you do not order the message types properly, you may make one or more of them ineffective.
Step 1
Step 2
a.
b.
Note
Figure 18 Message Type Definition Window
The new message type now appears in the PEP Explorer pane.
c.
Step 3
Note
Step 1
Note
a.
b.
c.
Figure 19 Reorder Message Types Window
Step 2
Step 3
Step 1
•
•
•
•
•
•
![]()
![]()
![]()
![]()
![]()
![]()
![]()
![]()
Posted: Fri Oct 6 16:58:12 PDT 2006
All contents are Copyright © 1992--2006 Cisco Systems, Inc. All rights reserved.
Important Notices and Privacy Statement.