|
|

Table Of Contents
Using the Web-Browser Interface
Using the Web-Browser Interface for the First Time
Using the Management Pages in the Web-Browser Interface
Character Restrictions in Entry Fields
Using the Web-Browser Interface
This chapter describes the web-browser interface that you can use to configure the access point. It contains these sections:
•
Using the Web-Browser Interface for the First Time
•
The web-browser interface contains management pages that you use to change access point settings, upgrade firmware, and monitor and configure other wireless devices on the network.
Note
Using the Web-Browser Interface for the First Time
Use the access point's IP address to browse to the management system. See the "Obtaining and Assigning an IP Address" section for instructions on assigning an IP address to the access point.
Follow these steps to begin using the web-browser interface:
Step 1
Note
Note
Step 2
Step 3
Step 4
Using the Management Pages in the Web-Browser Interface
The system management pages use consistent techniques to present and save configuration information. A navigation bar is on the left side of the page, and configuration action buttons appear at the bottom. You use the navigation bar to browse to other management pages, and you use the configuration action buttons to save or cancel changes to the configuration.
Note
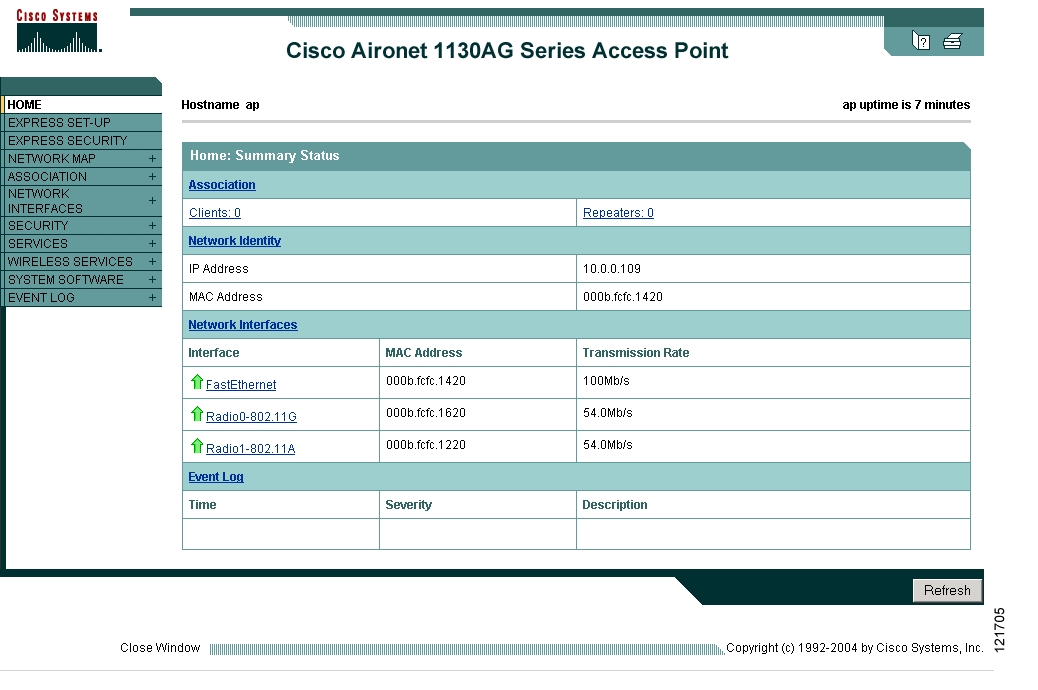
Figure 4-1 shows the web-browser interface home page.
Figure 4-1 Web-Browser Interface Home Page
Using Action Buttons
Table 4-1 lists the page links and buttons that appear on most management pages.
Character Restrictions in Entry Fields
Because the access point uses Cisco IOS software, there are certain characters that you cannot use in the entry fields on the web-browser interface. Table 4-2 lists the prohibited characters and the fields in which you cannot use them.
Using Online Help
Click the help icon at the top of any page in the web-browser interface to display online help. Figure 4-2 shows the help and print icons.
Figure 4-2 Print and Help Icons
When a help page appears in a new browser window, use the Select a Topic drop-down menu to display the help index or instructions for common configuration tasks, such as configuring VLANs.
![]()
![]()
![]()
![]()
![]()
![]()
![]()
![]()
Posted: Fri Apr 29 17:18:10 PDT 2005
All contents are Copyright © 1992--2005 Cisco Systems, Inc. All rights reserved.
Important Notices and Privacy Statement.