|
|

Cisco Voice Routing Center (VRC) user administration is managed with CNS security service.
The CNS security service provides an authentication and authorization framework based upon the Role Based Access Control (RBAC) model.
An administrator can perform the following functions when using the CNS security service user interface:
 |
Note For VRC system administration operations, use the VRC console. |
The CNS security service must be installed before you install VRC.
This chapter contains the following topics:
Voice Routing Center (VRC) Version 1.1 uses CNS security services for user administration and authorization. If you are using VRC integrated with PTC, see CNS Security Service in Integrated Mode.
VRC uses a simple security model, based on the following levels of permissions:
|
Note For VRC system administration operations, use the VRC console. |
This section describes the following CNS security service functions:
VRC uses CNS security services for the following user administration and authorization operations:
VRC user administration is managed through the CNS security service.
The CNS security service:
VRC, when integrated with PTC, uses CNS security services for the following user administration and authorization operations:
To log in to the CNS security service, follow these steps:
Step 1 Open your web browser.
Step 2 Type in the IP address of server where VRC is installed plus " :8080" added to the end of the IP address (for example, http://172.168.140.162:8080). The CNS Security Services Administration logon window appears (Figure 9-1).
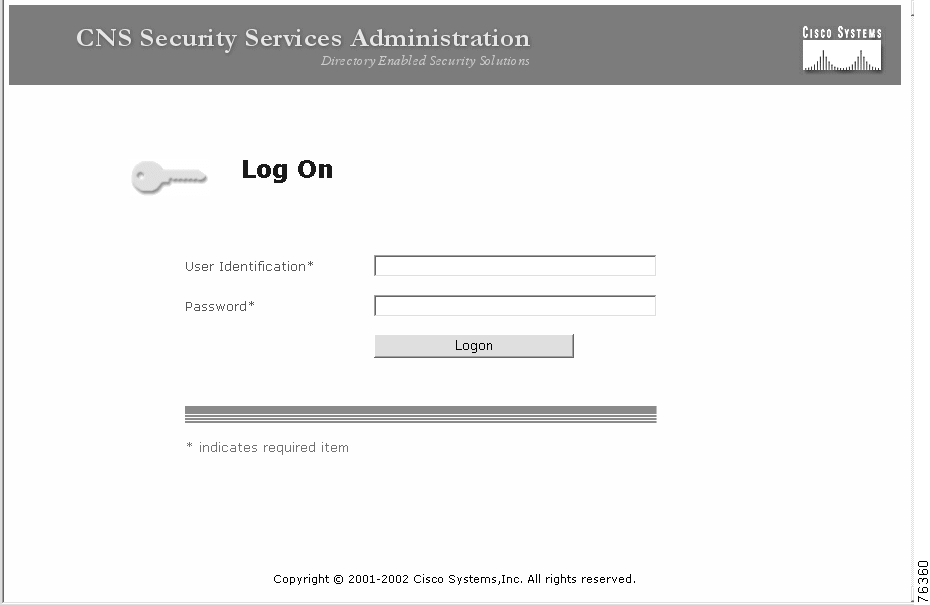
Step 3 Type in your user identification and your password. See your network administrator for this information.
Step 4 Click the Logon button. The CNS Security Services Administration window appears (Figure 9-2).
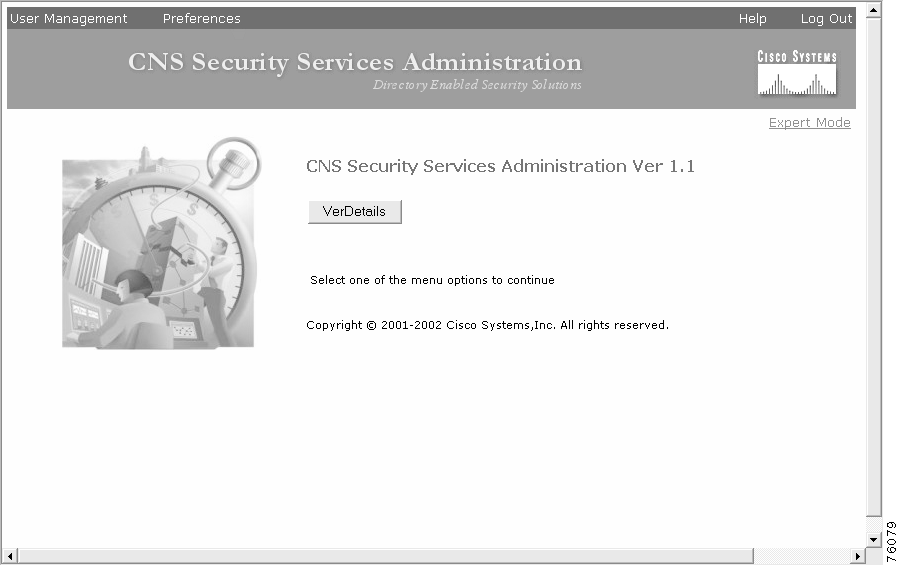
Use the CNS security service user interface to add users and create user groups.
The CNS Security Services Administration window displays the following menu items:
Step 5 To log out of the CNS security service, click Log Out on the top right corner of the CNS Security Services Administration window.
This section describes how to create new user groups. User groups determine the scope of privileges for each user. To set user privileges, you must add the user to the user group with a specific set of privileges.
You can use predefined VRC user groups or create your own user group.
|
Note VRC Version 1.1 only recognizes predefined VRC user groups. If you create your own user group, all users in this group have read-only permissions. |
|
Note We recommend that you operate in Normal mode to add a new user group. If there is a link in the upper right corner of your window for Expert mode, then you are in Normal mode. |
To create new user groups, follow these steps:
Step 1 Log in to the CNS security services.
Step 2 Choose the User Group Configuration option from the User Management menu. The CNS User Group: New window appears.
Step 3 Enter the user group name and a description of the user group.
Step 4 Click the Insert button.
A new user group is created with common name (cn) the user group name you entered, the organizational unit (ou) VRC, and the organization (o) cisco. The user group is created.
|
Note We recommend that you operate in Normal Mode to modify user groups. If there is a link in the upper right corner of your window for Expert Mode, then you are in Normal Mode. |
To make changes to an existing group, follow these steps:
Step 1 Log in to the CNS security services.
Step 2 From the User Management menu, choose the User Group Configuration option.
Step 3 Select a user group name from the list in the brown box on the left of this window and double-click the name. The user group window appears (Figure 9-3).
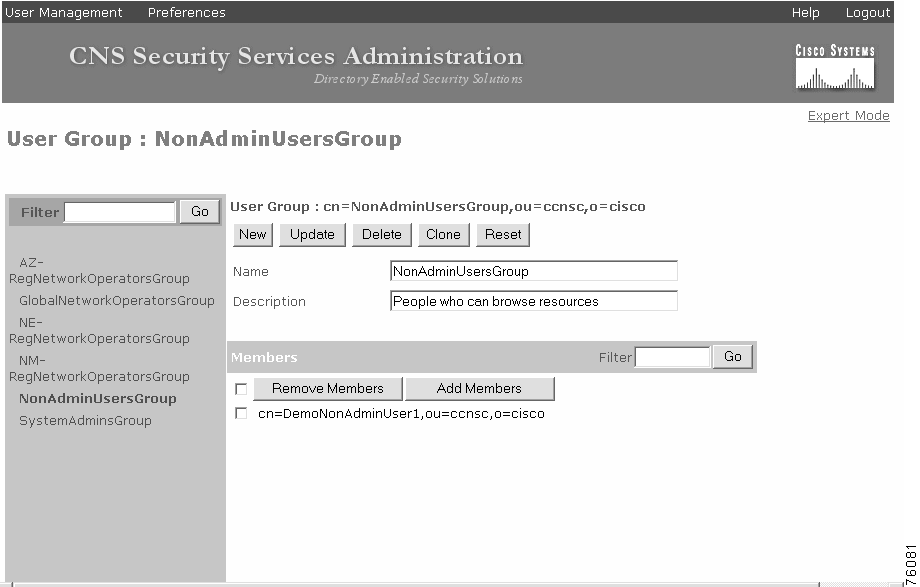
Step 4 Enter the new information into the fields that you want to change.
a. To add a member to this user group, click the Add Members button.
b. To remove a member from this user group, check the box next to the member and click the Remove Members button.
c. To remove all members from this user group, check the box next to the Remove Members button and click Remove Members.
Step 5 Click the Update button to display the new user group information.
To add an existing member to a group, follow these steps:
Step 1 Log in to the CNS security services administration window.
Step 2 From the User Management menu, choose the User Group Configuration option.
Step 3 Select a user group name from the list in the brown box on the left of this window and double-click the name.
Step 4 Click the Add Members button. The Select Group Members window appears (Figure 9-4) and lists all defined users.
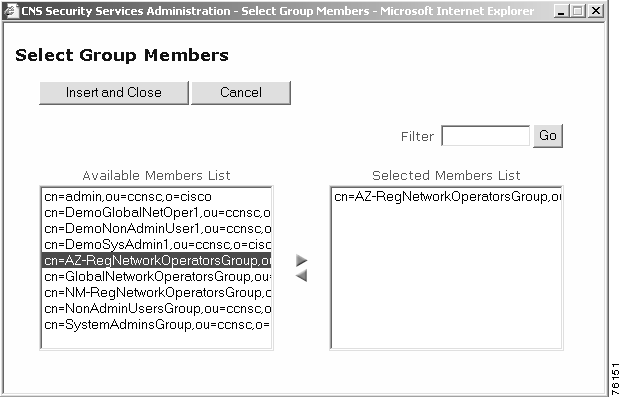
Step 5 Locate the group member that you want to add to the user group.
Step 6 Click the small right arrow to move the member from the Available Members List to the Selected Members List or double-click the desired name.
Repeat this step for all users you want to add to this user group.
Step 7 Click Insert and Close.
The group member is added to the user group.
VRC provides sample users and passwords for you to maintain. Table 9-1 lists sample user names and passwords provided by VRC.
| Sample User Name | Sample Password |
|---|---|
DemoSysAdmin1 | cisco |
DemoNonAdminUser1 | cisco |
DemoGlobalNetOper1 | cisco |
|
Note We recommend that you operate in Normal Mode to add a new user account. If there is a link in the upper right corner of your window for Expert Mode, then you are in Normal Mode. |
To add new user accounts, follow these steps:
Step 1 Log in to the CNS security services.
Step 2 Choose User Configuration from the User Management menu. The User: New window appears (Figure 9-5).
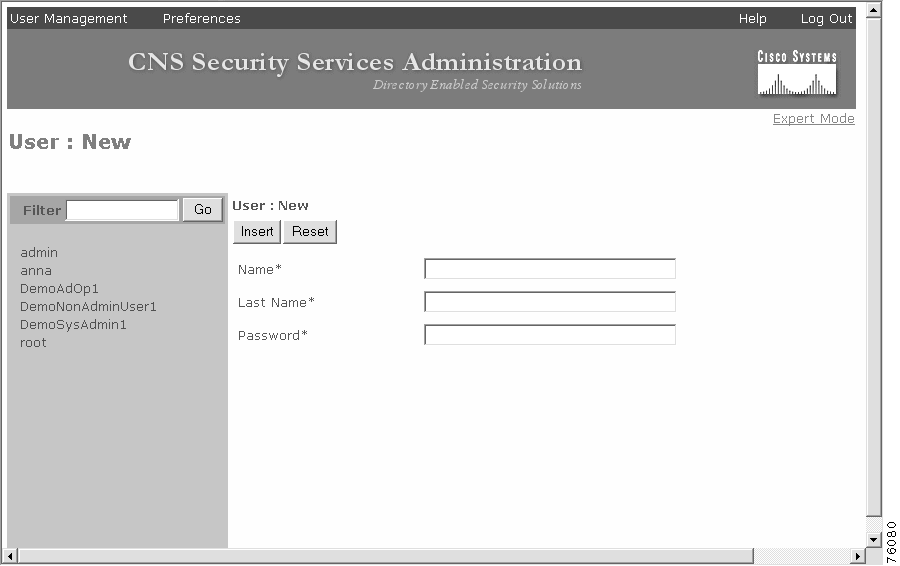
Step 3 Enter the user name and password for the new user account.
Step 4 Click the Insert button. A new user is created with common name (cn) the name you entered, the organizational unit (ou) ccnsc, and the organization (o) cisco.
Step 5 If you want to perform the following operations, follow Step 6 or Step 7.
Step 6 To make changes to this user information, enter the new information and click the Update button.
Step 7 To log out of the CNS security service user interface, click Log Out on the top right corner of the CNS window.
You can set user privileges by adding them to user groups. User privileges are determined by the user group they belong to.
|
Note We recommend that you operate in Normal Mode to add a user to a user group. If there is a link in the upper right corner of your window for Expert Mode, then you are in Normal Mode. |
To set user privileges, follow these steps:
Step 1 Log in to the CNS security services.
Step 2 Choose User Configuration from the User Management menu. Existing users are listed in the brown box on the left of the window.
Step 3 Double-click the user that you want to set privileges for. The current information for that user is displayed.
Step 4 Click Add to Group.
Step 5 Click the small right arrow to move the member from the Available Members List to the Selected Members List. Repeat this step for all users you want to add to this user group.
Step 6 Click Insert and Close. The group member is added to the user group.
Step 7 Click the Update button to display the new user information.
Step 8 To log out of the CNS security services, click Log Out on the top right corner of the CNS window.
|
Note We recommend that you operate in Normal Mode to modify user information. If there is a link in the upper right corner of your window for Expert Mode, then you are in Normal Mode. |
To change existing user information, follow these steps:
Step 1 Log in to the CNS security services.
Step 2 Choose User Configuration from the User Management menu.
Existing users are listed in the box on the left of this window.
Step 3 Double-click a user name from the list. The next user window appears (Figure 9-6).
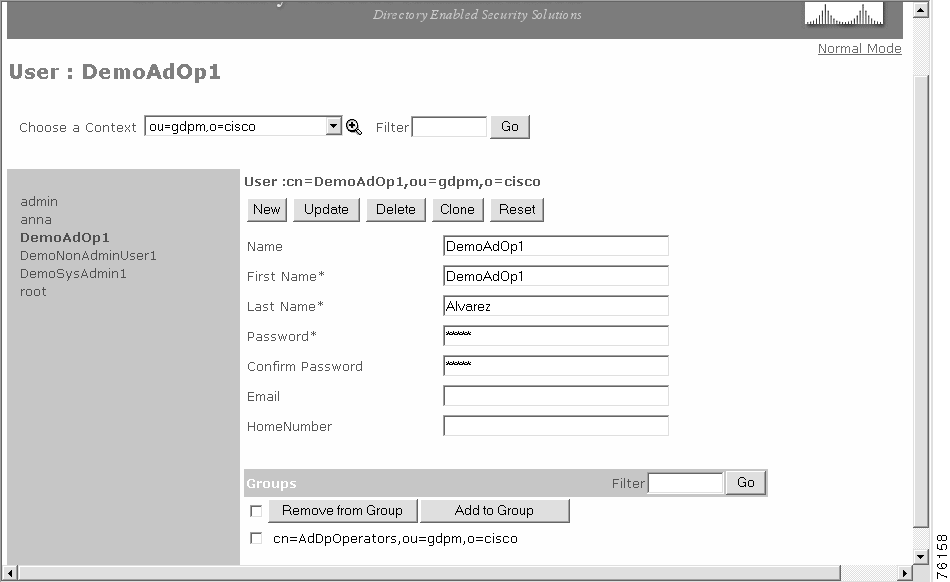
Step 4 Fill in the entry fields that you want to change.
a. To add this member to a user group, check the box under the Groups area and click the Add to Group button.
b. To remove this member from a user group, check the box under the Groups area and click the Remove from Group button
Step 5 Click the Update button to display the new user information.
Step 6 To log out of the CNS security service, click Log Out on the top right corner of the CNS window.
To change a user password from CNS security services, follow these steps:
Step 1 Log in to the CNS security services. The main window appears.
Step 2 Enter your user identification and password.
Step 3 Choose the Change Password option from the Preferences menu.
The Update Your Password window appears.
Step 4 Enter the current user password.
Step 5 Enter your new user password.
Step 6 Enter your new user password again to confirm.
Step 7 Click Update.
An information dialog box appears to indicate that the password has been changed in the directory.
Step 8 Log out of the CNS security service user interface.
Step 9 Log back in using your new password.
|
Note You should not change the admin password using the CNS user interface. This password can only be changed before you install the CNS software. If you change the admin password after installation and your server stops, you cannot restart the server. |
![]()
![]()
![]()
![]()
![]()
![]()
![]()
![]()
Posted: Tue Oct 15 16:15:25 PDT 2002
All contents are Copyright © 1992--2002 Cisco Systems, Inc. All rights reserved.
Important Notices and Privacy Statement.