|
|

Table Of Contents
Service Inventory—Device Console
Service Inventory—Device Console
From the Home window of Cisco IP Solution Center (ISC), which you receive upon logging in, click the Service Inventory tab or area in the data pane of the window, and you receive a window as shown in Figure 5-1, " Service Inventory Selections."
Figure 5-1 Service Inventory Selections
Click on Device Console and you proceed to Figure 5-2, " Example of Device Console Selections" and can choose one of the device related operations.
Device Console
Device Console is the starting point for many operations. To navigate through Device Console, follow these steps:
Step 1
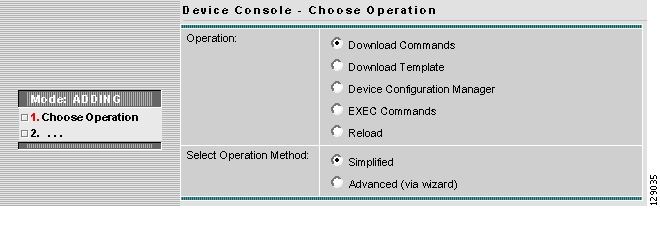
Choose Service Inventory > Device Console and you receive a window as shown in the example in Figure 5-2, " Example of Device Console Selections."
Note
Figure 5-2 Example of Device Console Selections
Step 2
Note
•
•
•
•
•
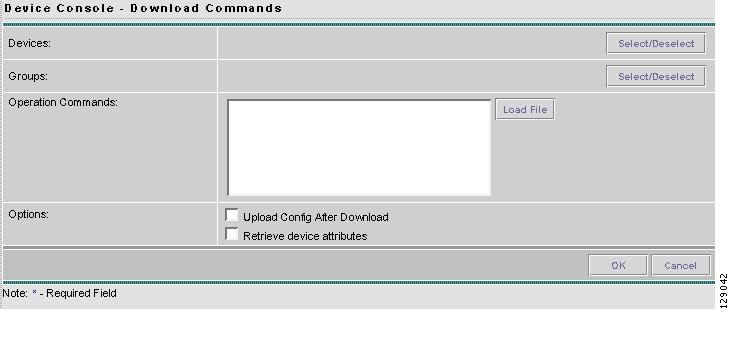
Download Commands
To download commands, follow these steps:
Step 1
Step 2
Step 3
Figure 5-3 Device Console—Download Commands: Select Devices
Step 4
Step 5
Step 6
Step 7
Step 8
Step 9
Step 10
Step 11
Download Template
Note
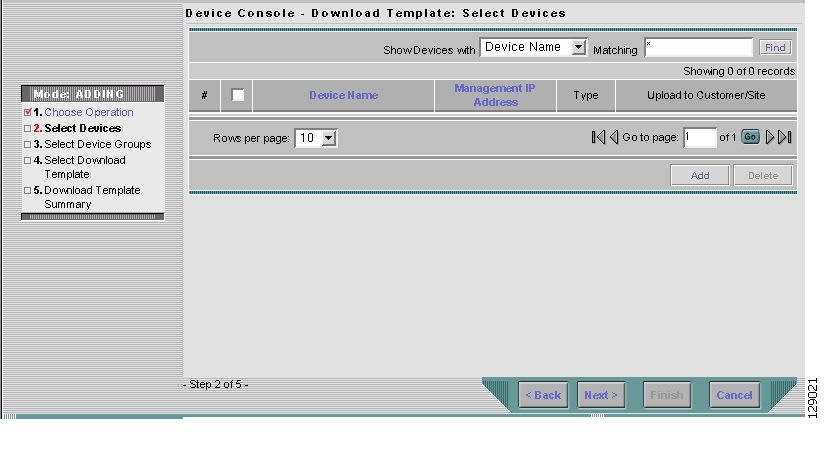
To download a template, follow these steps:
Step 1
Figure 5-4 Device Console—Download Template: Select Devices
Step 2
Step 3
Step 4
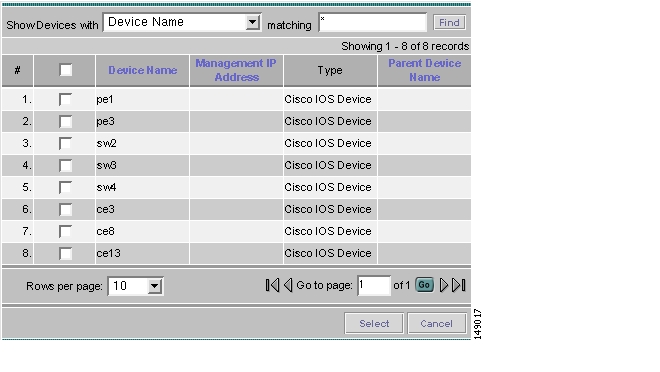
Figure 5-5 Device Selection
Step 5
Step 6
Step 7
Step 8
Step 9
Step 10
Step 11
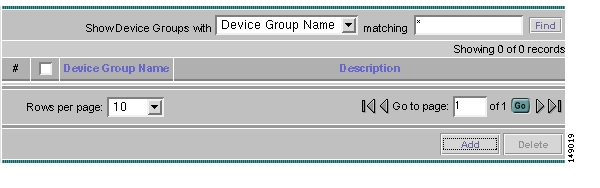
Figure 5-6 Device Group Selection
Step 12
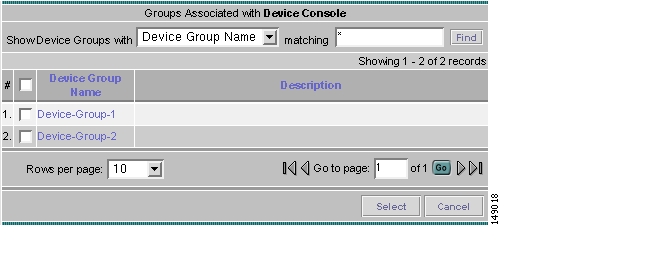
Figure 5-7 Group Association
Step 13
Step 14
Step 15
Step 16
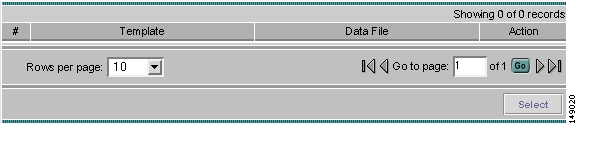
Figure 5-8 Select Download Template
Step 17
Step 18
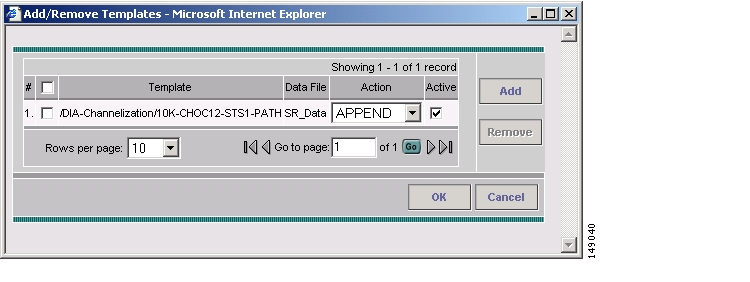
When you click Add you get a Template Datafile Chooser window with the template choices in the tree. Click + to open the folders and subfolders in the tree, until you get the property you want to choose. Click on that property and it is added to your list. Repeat this until all the templates you want are in your list. In each added property, you can click View and you receive the configlet for that data file. To return, click OK. In Figure 5-9, check the check box(es) for the template(s) you want. In each template row, click the Action drop-down list and choose APPEND or PREPEND to add information after or before, respectively; check or uncheck the Active check box; and then click OK.
Figure 5-9 Add/Remove Templates
Step 19
Step 20
Step 21
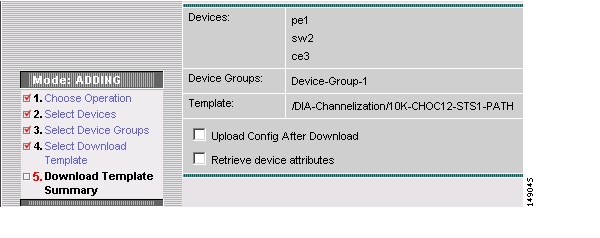
Figure 5-10 Download Template Summary
Step 22
Step 23
Step 24
Device Configuration Manager
To display the configuration, download the configuration to the startup configuration on the device, or download the configuration to the running configuration on the device, follow these steps:
Step 1
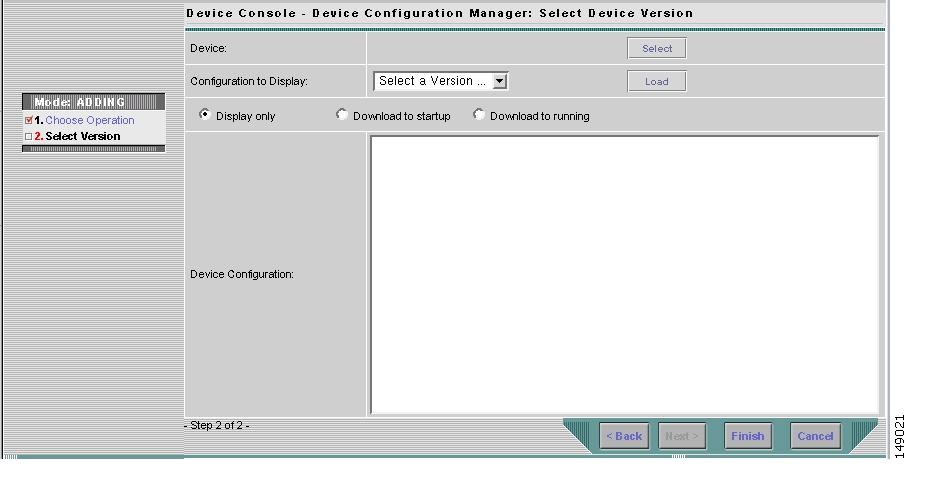
Figure 5-11 Device Configuration Manager
Step 2
Figure 5-12 Device Selection
Step 3
Step 4
Step 5
Step 6
•
•
Note
•
Note
Step 7
EXEC Commands
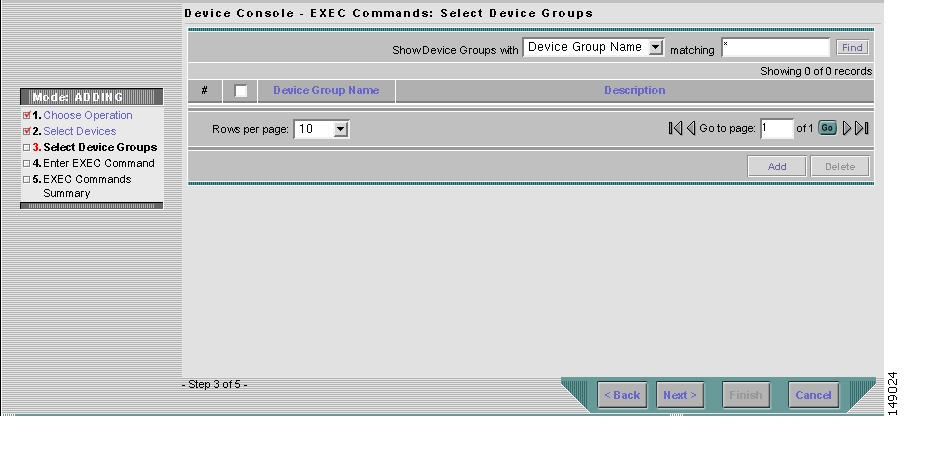
EXEC Commands allows you to send to target devices any Cisco IOS commands that can be executed in enable mode. You can only view the router information. You cannot edit or delete the information.
To execute EXEC Commands, follow these steps:
Step 1
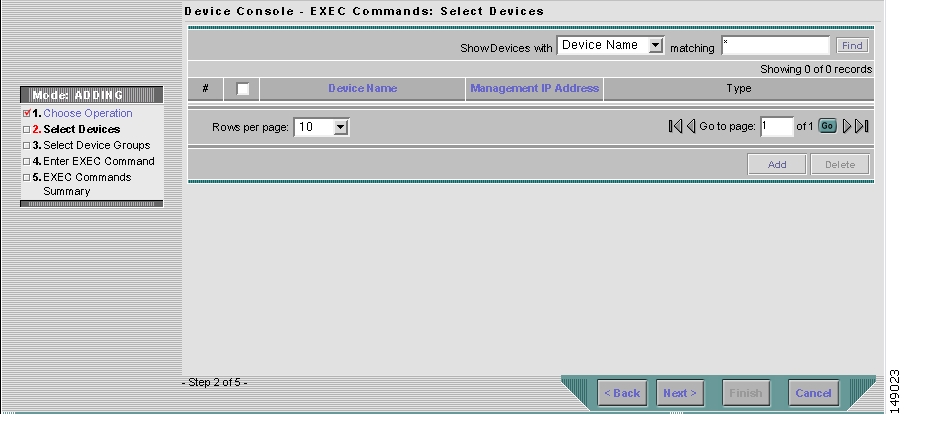
Figure 5-13 Device Console—EXEC Commands: Select Devices
Step 2
Step 3
Step 4
Figure 5-14 Device Selection
Step 5
Step 6
Step 7
Step 8
Step 9
Figure 5-15 Device Group Selection
Step 10
Figure 5-16 Group Association
Step 11
Step 12
Step 13
Step 14
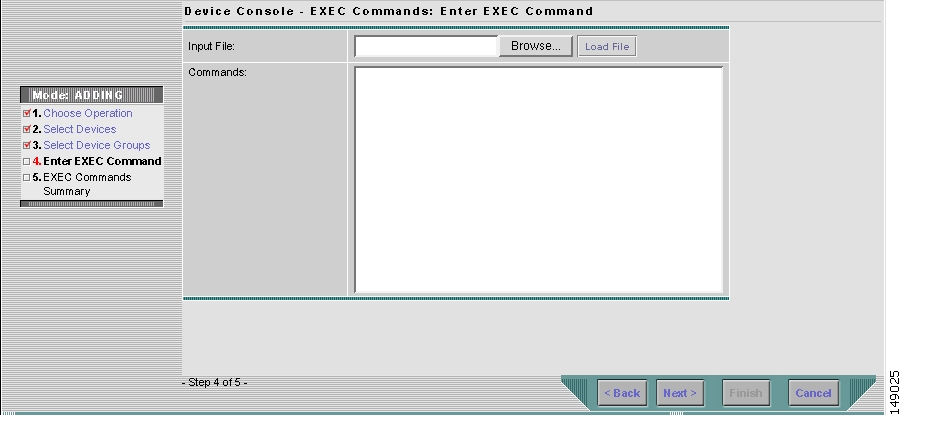
Figure 5-17 Operation Commands
Step 15
Step 16
Step 17
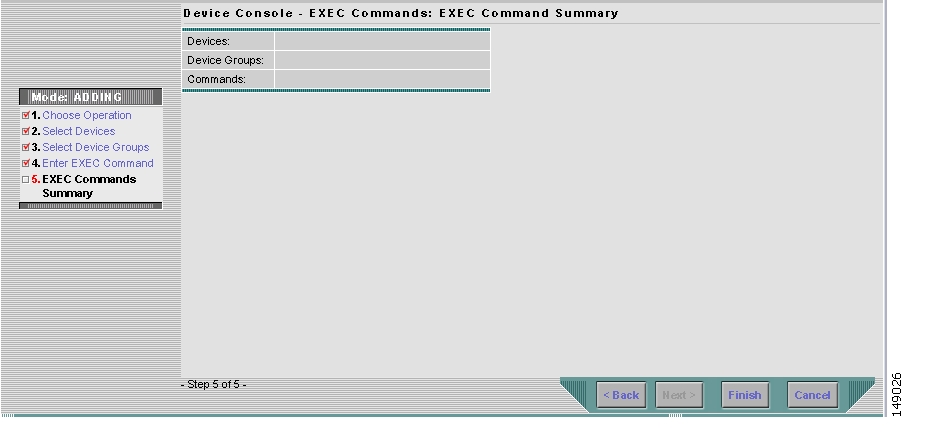
Figure 5-18 EXEC Commands Summary
Step 18
Step 19
Step 20
Reload
To reload (reboot) the router, follow these steps:
Step 1
Figure 5-19 Device Console—Reload: Select Devices
Step 2
Step 3
Step 4
Figure 5-20 Device Selection
Step 5
Step 6
Step 7
Step 8
Step 9
Figure 5-21 Device Group Selection
Step 10
Figure 5-22 Group Association
Step 11
Step 12
Step 13
Step 14
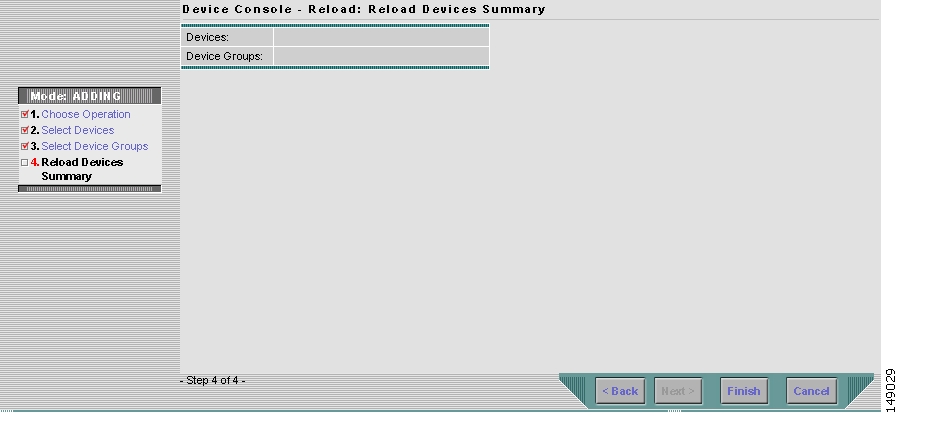
Figure 5-23 Reload Summary
Step 15
Step 16
![]()
![]()
![]()
![]()
![]()
![]()
![]()
![]()
Posted: Mon Feb 18 15:40:14 PST 2008
All contents are Copyright © 1992--2008 Cisco Systems, Inc. All rights reserved.
Important Notices and Privacy Statement.