|
|

Table Of Contents
Managing the Switch by Using the Cluster Management Suite
Connecting to an Ethernet Port
Launching the Switch Home Page
Recommended Configuration for Web-Based Management
Operating System and Browser Support
Managing the Switch by Using the Cluster Management Suite
This appendix describes the requirements for using the web-based Cluster Management Suite (CMS) tools. See these sections for information about running CMS and the CMS requirements:
•
Connecting to an Ethernet Port
•
This appendix assumes that you have already assigned an IP address to your switch. If you have not, configure the switch as described in Chapter 1, "Using Express Setup," or in Appendix D, "Quick Setup By Using the CLI-Based Setup Program."
After you have assigned an IP address to the switch and installed the Java plug-in, you can access the switch from your browser and use the CMS to configure the switch.
Note
Connecting to an Ethernet Port
Follow these steps to connect to a 10/100/1000 Ethernet port:
Step 1
Step 2
Figure C-1 Connecting to a Front Panel Port
Launching the Switch Home Page
To display the switch access page, follow these steps:
Step 1
Step 2
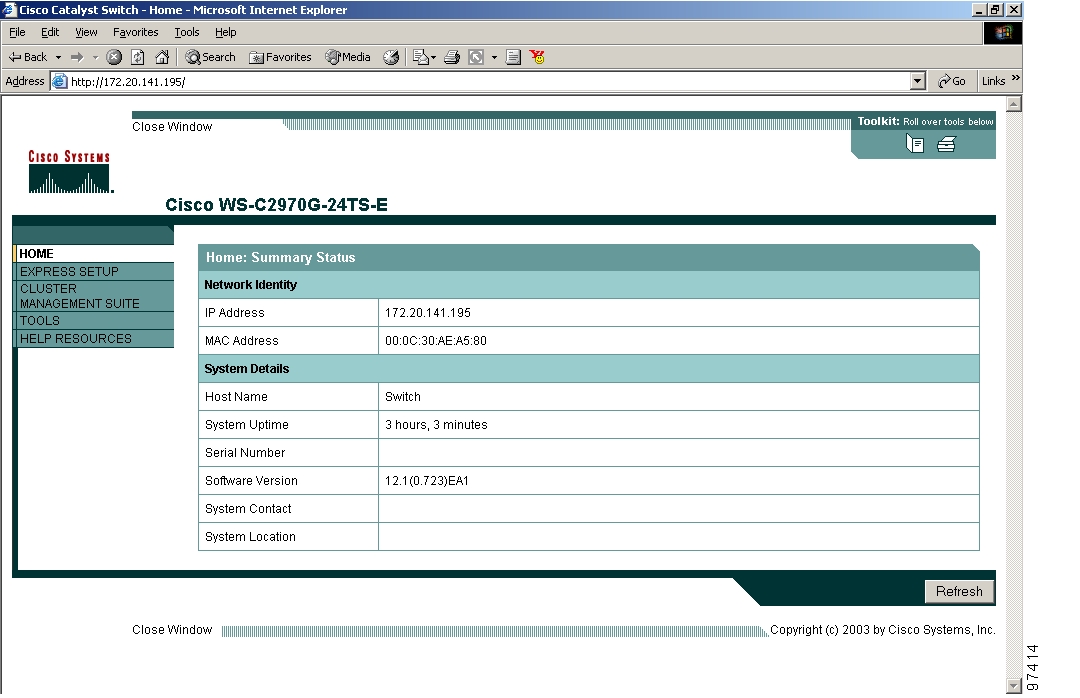
The switch home page appears, as shown in Figure C-2.
Figure C-2 Switch Home Page
Step 3
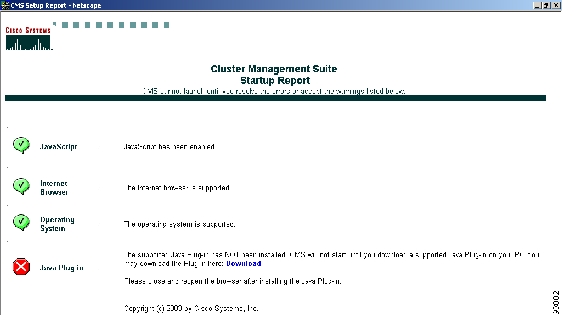
Figure C-3 CMS Setup Report
The CMS Setup Report has links that instruct you how to configure your PC or workstation to run CMS.
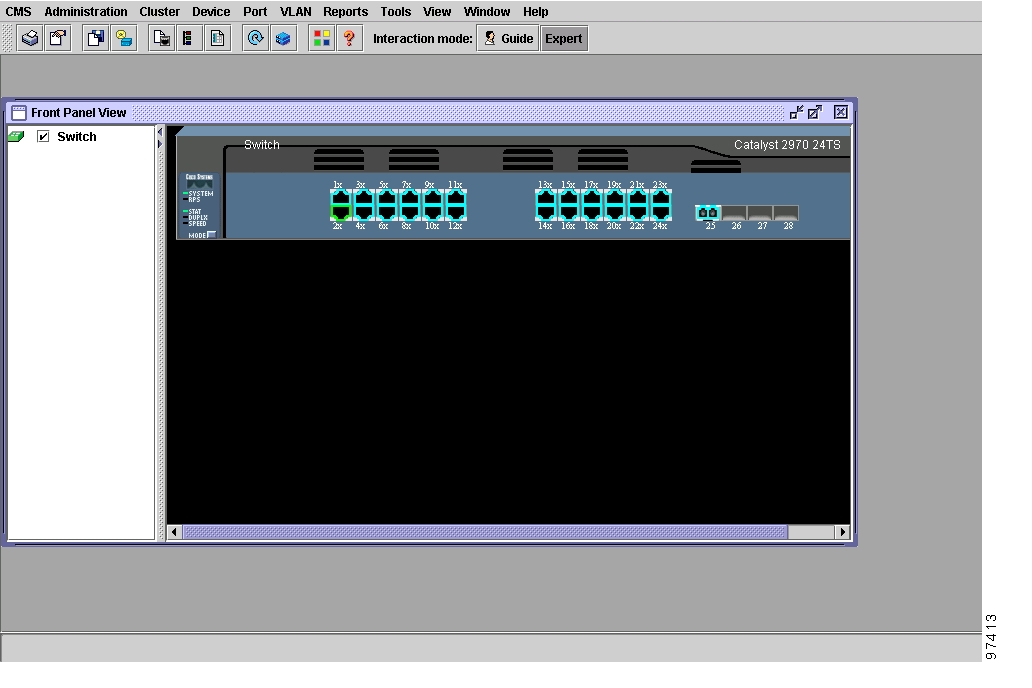
When your PC or workstation is correctly configured, CMS launches, as shown in Figure C-4.
Note
Figure C-4 CMS Front Panel View
For more information about the CMS, refer to the software configuration guide or to the online help.
CMS Requirements
These sections list the recommended platform configurations and supported operating systems, web browsers, and Java plug-ins for running CMS:
•
•
Recommended Configuration for Web-Based Management
Table C-1 lists the recommended platforms for web-based management.
Table C-1 Recommended Platform Configuration for Web-Based Management
Windows NT 4.01
Pentium 300 MHz
128 MB
65,536
1024 x 768
Small
Solaris 2.5.1 or higher
SPARC 333 MHz
128 MB
Most colors for applications
—
Small (3)
1 Service Pack 3 or higher is required.
The minimum PC requirement is a Pentium processor running at 233 MHz with 64 MB of DRAM. The minimum UNIX workstation requirement is a Sun Ultra 1 running at 143 MHz with 64 MB of DRAM.
Note
Operating System and Browser Support
You can access CMS by using the operating systems and browsers listed in Table C-2. CMS checks the browser version when starting a session to ensure that the browser is supported.
Table C-2 Supported Operating Systems and Browsers
Windows 95
Service Pack 1
4.75 or 6.2
5.5 or 6.0
Windows 98
Second Edition
4.75 or 6.2
5.5 or 6.0
Windows NT 4.0
Service Pack 3 or later
4.75 or 6.2
5.5 or 6.0
Windows 2000
None
4.75 or 6.2
5.5 or 6.0
Windows XP
None
4.75 or 6.2
5.5 or 6.0
Solaris 2.5.1 or later
Sun-recommended patch cluster for the OS and Motif library patch 103461-24
4.75 or 6.2
Not supported
1 Netscape Communicator version 6.0 is not supported.
2 Service Pack 1 or higher is required for Internet Explorer 5.5.
Supported Java Plug-Ins
One of these Java plug-ins is required for the browser to access and run the Java-based CMS:
•
•
These Java plug-ins are supported both in Windows environments and on Solaris platforms. You can download the plug-ins and installation instructions from this URL:
http://www.cisco.com/pcgi-bin/tablebuild.pl/java
Note
On Solaris platforms, follow the instructions in the README_FIRST.txt file to install the Java plug-in.
Java Plug-In Notes
These notes apply to the Java plug-in configuration:
•
•
•
In the Proxies tab, verify that Use browser settings is checked and that no proxies are enabled.
•
From the Start menu on McAfee VirusScan, disable the VirusScan Internet Filter option, the Download Scan option, or both by selecting Start > Programs > Network Associates > Virus Scan Console > Configure.
or
From the taskbar, right-click the Virus Shield icon and in the Quick Enable menu, disable the options by deselecting Internet Filter or Download Scan.Where to Go Next
For more information about the CMS, refer to the software configuration guide or to the online help.
![]()
![]()
![]()
![]()
![]()
![]()
![]()
![]()
Posted: Tue Nov 2 07:57:57 PST 2004
All contents are Copyright © 1992--2004 Cisco Systems, Inc. All rights reserved.
Important Notices and Privacy Statement.