Table Of Contents
Cisco Unity Express Windows and Menus
Navigating Through the Cisco Unity Express GUI Windows
Cisco Unity Express Windows and Menus
Home Window
Configure Menu
Voice Mail Menu
Administration Menu
Defaults Menu
Reports Menu
Help Menu
Cisco Unity Express Icons
Searching for Data—the Find Icon
Alphabetizing Data—the Sort Icon
What to Do Next
Cisco Unity Express Windows and Menus
This chapter describes the windows, menus, and icons available in the Cisco Unity Express voice-mail system and contains the following sections:
• Navigating Through the Cisco Unity Express GUI Windows
• Cisco Unity Express Windows and Menus
• Cisco Unity Express Icons
• What to Do Next
Navigating Through the Cisco Unity Express GUI Windows
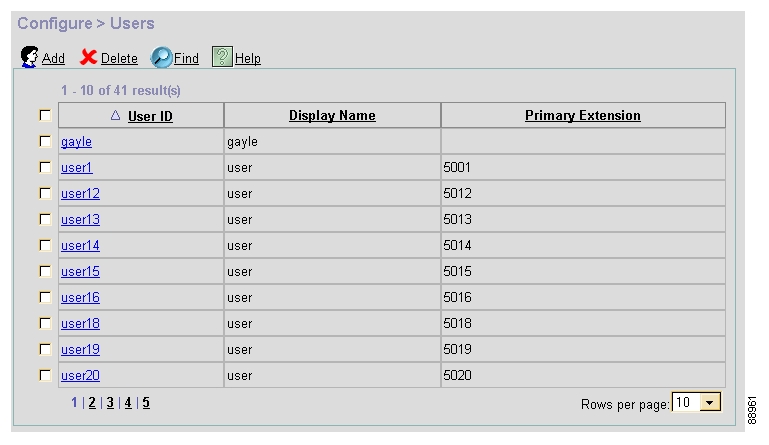
The voice-mail software groups the administrative tasks on a main toolbar that includes several options, each with drop-down menus. Each of the menus leads you to windows where data can be selected or entered. For example:
Clicking one of these options leads you to a window where data can be selected. For example:
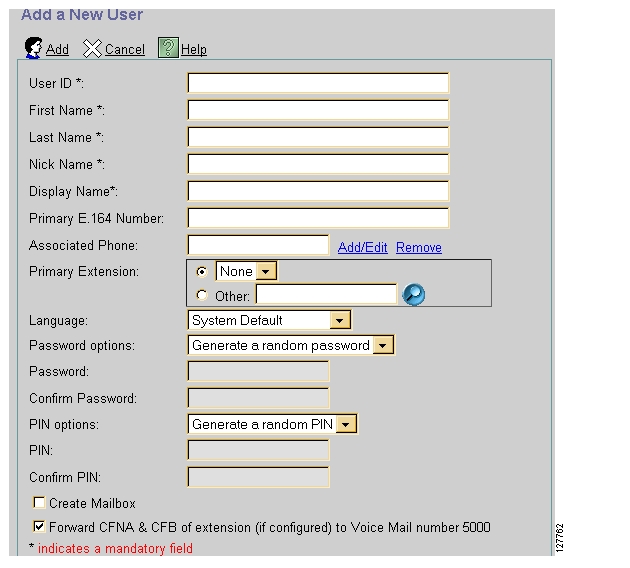
Clicking Add brings up a window where data can be entered. For example:
Move to a fill-in field and click in the field, or use the Tab key on your keyboard.
These windows have icons that help with the task activity, such as saving data, adding or deleting an item, or finding a name or number. See "Cisco Unity Express Icons" for a description of the icons.
After reviewing the icons, continue with "Sequence of Administrative Tasks" on page 61.
Cisco Unity Express Windows and Menus
The windows and menus are described in this section.
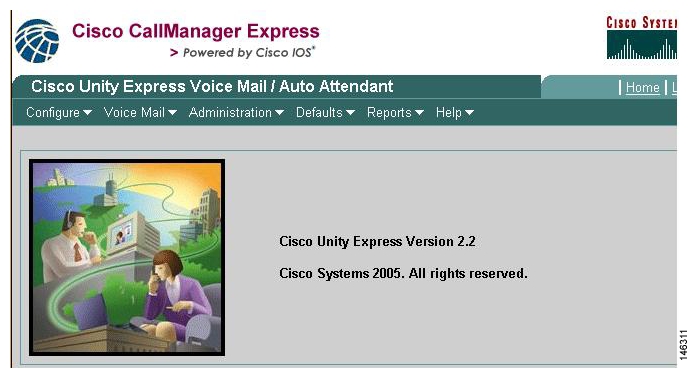
Home Window
The Home window appears when you first log in to Cisco Unity Express.
You can also access this window by clicking Home in the upper right corner of any Cisco Unity Express window.
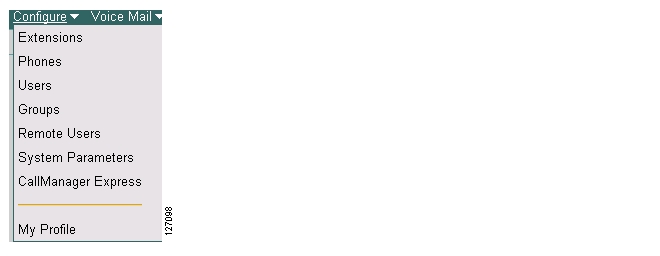
Configure Menu
The Configure menu appears when you click Configure on the Home window.
Table 9 describes the options on the Configure menu:
Table 9 Configure Menu Options
Menu Option
|
Description
|
Extensions
|
Add, modify, or delete an extension for a user.
|
Phones
|
Add, modify, or delete a telephone. Assign a telephone to an extension.
|
Users
|
Add, modify, or delete a user. Assign one or more extensions to a user.
|
Groups
|
Add, modify, or delete a group of users. Assign at least one user as the group owner.
|
Remote Users
|
Add, modify, or delete a user at a remote location. The remote location must be configured in the Cisco Unity Express database before using this option. See the Administration > Networking Locations option.
|
System Parameters
|
Modify system-wide parameters. Many of these values were configured during Cisco SME installation.
|
CallManager Express
|
Modify the Cisco CallManager Express hostname and SIP provider hostname that connect to Cisco Unity Express. This option also displays the web user name and password.
|
My Profile
|
Modify your name as it appears on other telephone displays, your password, and your PIN.
|
Voice Mail Menu
The Voice Mail menu appears when you click Voice Mail on the Home window.
Table 10 describes the options on the Voice Mail menu:
Table 10 Voice Mail Menu Options
Menu Option
|
Description
|
Mailboxes
|
Add, modify, or delete a voice mailbox. Assign the mailbox to a user or to a group. Not all users or groups need to have an assigned voice mailbox.
|
Distribution Lists
|
Add, modify, or delete public or private distribution lists. Only members of the Administrators group or any group with the ViewPrivateList privilege and view private lists belonging to a specific user.
|
Message Waiting Indicators
|
Refresh the MWIs for one or more extensions or users. Modify the MWI On and MWI Off extensions, if necessary.
|
Auto Attendant
|
Configure one or more auto attendants.
|
Call Handling
|
Modify the telephone number for dialing the voice-mail application, the voice-mail operator extension, and the maximum number of concurrent calls that the voice-mail and auto-attendant applications can handle.
|
Prompts
|
Configure prerecorded customized auto-attendant application prompts.
|
Scripts
|
Configure customized auto-attendant application scripts that have been created using the Cisco Unity Express script editor.
|
Business Hours Setting
|
Add, modify, or delete schedules of the days and times of the week when the company is open for business s.
|
Holiday Settings
|
Add or delete schedules of days when the company is closed for holidays.
|
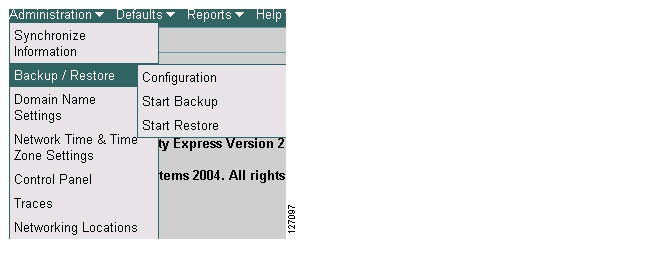
Administration Menu
The Administration menu appears when you click Administration on the Home window.
Table 11 describes the options on the Administration menu:
Table 11 Administration Menu Options
Menu Option
|
Description
|
Synchronize Information
|
Propagates changes to user and voice-mail information from the Cisco CallManager Express database to the Cisco Unity Express database.
|
Backup/Restore
|
Configure backup and restore parameters, and save Cisco Unity Express data and configuration changes to other locations, such as the FTP server. Restore saved files as needed.
|
Domain Name Settings
|
Modify the hostname, domain name, and DNS server.
|
Network Time & Time Zone Settings
|
Add or delete an NTP server, which is used for the date and time on Cisco Unity Express. Change the local time zone.
|
Control Panel
|
Save the Cisco CallManager data and the Cisco Unity Express data to flash memory or reload the Cisco Unity Express software.
|
Traces
|
Set categories for generating trace data. Use this option for troubleshooting Cisco Unity Express.
|
Networking Locations
|
Configure the local Cisco Unity Express ID and the parameters for any remote locations.
|
Defaults Menu
The Defaults menu appears when you click Defaults on the Home window.
Table 12 describes the options on the Defaults menu:
Table 12 Defaults Menu Options
Menu Option
|
Description
|
User
|
Select the system-wide user password and PIN creation policy (system-generated or blank). The user modifies these values when logging in to the GUI or the voice-mail system for the first time.
|
Mailbox
|
Assign a system-wide mailbox size, maximum caller message size, and message expiry time. These apply to all new mailboxes. You can modify these values for specific mailboxes.
|
Voice Mail
|
Assign a total number of minutes allowed for all voice messages across the system and the maximum number of seconds for a user's outgoing mailbox greeting.
|
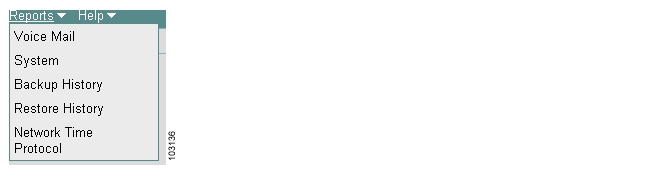
Reports Menu
The Reports menu appears when you click Reports on the Home window.
Table 13 describes the options on the Reports menu:
Table 13 Reports Menu Options
Menu Option
|
Description
|
Voice Mail
|
Displays statistics about the number of mailboxes configured, the number of messages and greeting, and the storage space on the system they use.
|
System
|
Displays information about the system hardware and CPU.
|
Backup History
|
Displays the backed-up files, backup dates, and success status.
|
Restore History
|
Displays the restored files, restore dates, and success status.
|
Network TIme Protocol
|
Displays the NTP servers and the time difference between the NTP server and the Cisco CallManager router clock.
|
Help Menu
The Help menu appears when you click Help on the Home window.
Table 14 describes the options on the Help menu:
Table 14 Help Menu Options
Menu Option
|
Description
|
About
|
Displays the version of Cisco CallManager software and the licensing information for your Cisco Unity Express system.
|
Configuration
|
Displays help windows for configuring Cisco Unity Express.
|
Cisco Unity Express Icons
Table 15 describes the icons used on Cisco Unity Express windows:
Table 15 Cisco Unity Express Icons
Icon
|
Purpose
|
|
Click to add new users or to add users to groups.
|
|
Click to add a new voice mailbox.
|
|
Click to add a new extension.
|
|
Click to add a new DNS server.
|
|
Click to add a new network location.
|
|
Click to add a holiday to the company's schedule.
|
|
Click to add a new business-hours schedule.
|
|
Click to activate changed data. Data is saved using a Save icon or the Save Configuration option.
|
|
Click to exit the active window. Data is not activated or saved.
|
|
Click to copy a schedule of business hours.
|
|
Click to delete a preselected user, extension, phone, voice mailbox, or group. Preselect the item by checking on the box to the left of the item.
|
|
Click to download a personalized script or prompt from the auto attendant to another location.
|
|
Click to find a user, voice mailbox, or group. A dialog box appears for entering the name to be found. See the procedure below for using this icon.
|
|
Click to open a help window with information about the fields on the window.
|
|
Click to import users from Cisco CallManager to Cisco Unity Express.
|
|
Click to refresh all message waiting indicators (MWIs).
|
|
Click to refresh selected message waiting indicators (MWIs).
|
|
Click to reset the values for an extension.
|
|
Click to reset the values for all extensions.
|
|
Click to save the changes made on the active window or session.
|
|
Click to unlock one or more mailboxes.
|
|
Click to upload a personalized, prerecorded auto-attendant greeting file or script.
|
|
Click to verify the connection between Cisco Unity Express and Cisco CallManager.
|
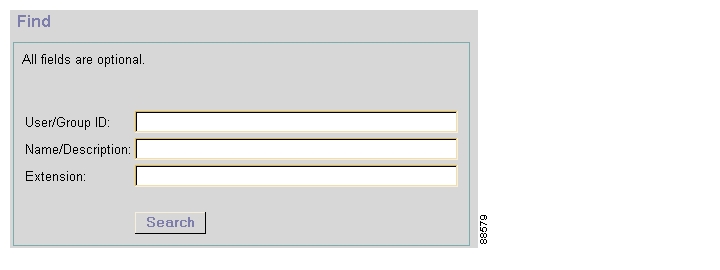
Searching for Data—the Find Icon
All the icons, except the Find icon, require one or two steps to complete their action. For the Find icon, a dialog box appears asking for a search pattern to locate the desired data. For example:
You may enter a pattern in any one of the three fields. For example, you may enter a user's ID or the user's name or the user's extension. When you click the Search button, the system tries to find the user that matches the data you entered.
If you do not know the entire name, ID, or extension, you may use the asterisk (*) in place of missing characters. For example, entering a user ID of sm* causes the system to return a list of all users whose ID begins with sm. Similarly, if you enter an extension as *3, the system displays the names of all users whose extensions end with 3.
After the list of users is displayed, you may choose an entry by checking on the check box next to the name. The software uses this choice in the data entry window where you invoked the Find icon.
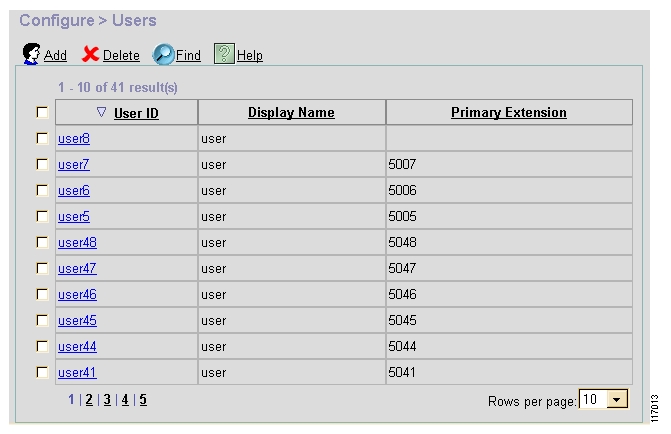
Alphabetizing Data—the Sort Icon
Windows that list a series of users, extensions, or phones can be sorted in ascending or descending order. A triangle next to a column title indicates which column was used most recently for sorting and the direction in which the data is sorted. Any column may be used for sorting. For example,
Clicking the column title sorts the list entries in reverse order.
Timesaver Reversing the order is handy if the list of names is too long to fit on the window and you want to look at an entry at the end of the list.
What to Do Next
See the chapter "Sequence of Administrative Tasks" on page 61 for a list of administrative tasks.