|
|

If you installed the support software for your company's LAN, CiscoRemote Plus provides the Configurator application to help you set up your network support software. As you use the Configurator, you enter information about your company network and your computer. Refer to the CiscoRemote Plus important information card and to the information you recorded in Table 1-1 for this information. To use the Configurator, you should be familiar with setting up network software. If you're unsure about the information to enter, see your network administrator for help.
Take the following steps to open the Configurator and set up your network support software:
Step 1 Double-click on the Configurator icon in the CiscoRemote Plus program group.
The Network Configurator window opens. (See Figure B-1.)
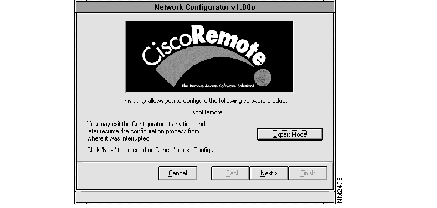
The Configurator helps you record network information step by step as it displays a sequence of panels with explanations and options to set.
Step 2 Click on Next.
The Network Configurator window displays your computer's network operating system options. (See Figure B-2.)
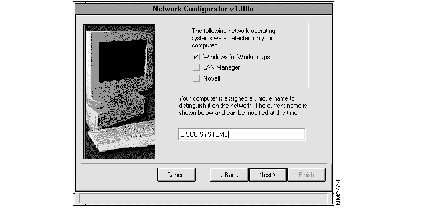
These options identify the type of network operating system software you are running on your computer. You can also give your computer a unique network name, if you want.
Step 3 Enter a name for your computer, if you want, and click on Next.
The Setting Up Adapter window opens. (See Figure B-3.)
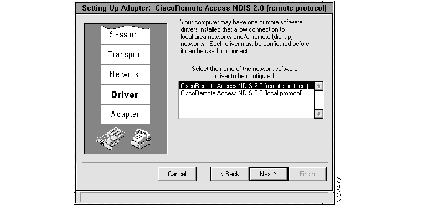
Step 4 Click on CiscoRemote Access NDIS 2.0 (remote protocol) or CiscoRemote Access NDIS 2.0 (local protocol) and click on Next.
The Network Configurator window displays the BOOTP or DCHP options. (See Figure B-4.)
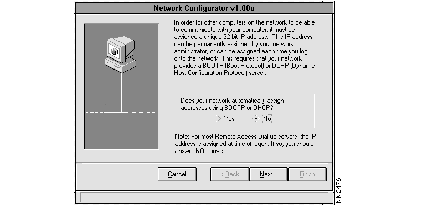
Step 5 Click on Yes or No to indicate whether your network automatically addresses using BOOTP or DHCP and then click on Next. See your network administrator if you need help.
The Network Configurator Window displays the IP Address and Subnet Mask fields. (SeeFigure B-5.)
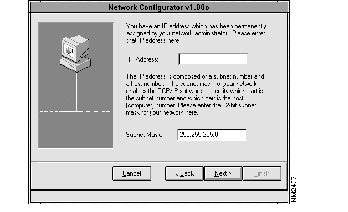
Step 6 Enter your computer's IP Address in the IP Address field, and your subnet mask number in the Subnet Mask field and click on Next. Refer to your CiscoRemote Plus important information card or Table 1-1 for this information.
The Network Configurator window displays the DNS service options. (See Figure B-6.)
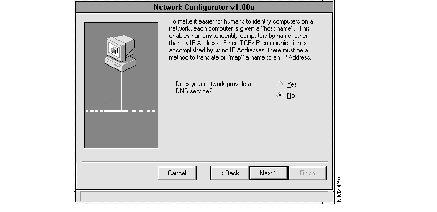
Step 7 Click on Yes or No when you are asked whether your network provides a DNS service. Click on Next. Refer to your CiscoRemote Plus important information card or Table 1-1 for this information.
The Network Configurator window displays the Gateway options. (See Figure B-7.)
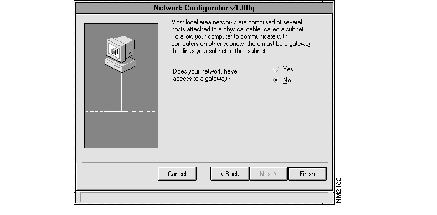
Step 8 Click on Yes or No when you are next asked whether your network provides a gateway that links computers on the network. Refer to your CiscoRemote Plus important information card or Table 1-1 for this information. Click on Finish.
You've now configured your LAN support software. If you're completing your installation of the software, the Reboot window appears on your screen. Follow the instructions on the screen. After restarting your computer, proceed to the chapter "Setting Up a Connection Using CiscoRemote Plus" to for more information about setting up your remote access software to establish a connection to your company's network or Internet service provider.
If you have experience configuring network software, you may find using the Expert Mode of the Configurator a convenient method for setting up the LAN support software.
Take the following steps to set configuration settings using Expert Mode:
Step 1 Double-click on the Configurator icon in the CiscoRemote Plus program group.
The Network Configurator window opens. (See Figure B-8.)

Step 2 Click on the Expert Mode button.
The Network Configurator window changes to allow you to select either the remote or local protocol to configure. (See Figure B-9.)
Step 3 Click on the icon in front of remote or local protocol option that you want to configure.
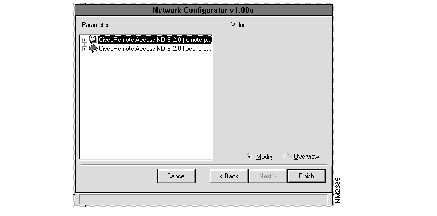
Additional options are displayed. (See Figure B-10.)
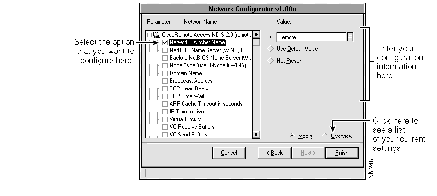
Step 4 Click on an option in the left list to see the fields and buttons you can set for that option. Click an option and enter the settings you want. To see a list of your settings, click on the Overview button.
Step 5 Click on Finish when you have completed configuring the software.
|
|