records, the medium and normal have not been altered, and the low queue has been increased
in capacity to 90 records. This enables faster processing of the high queue and more potential
holding space for the low queue.
examples, this was evident. The priority list was activated on the interface once the priority-
group command was entered. Note that the priority list number was the same as the priority
group number. Although it is possible to apply the same priority list to multiple interfaces, it is
not possible to configure multiple priority groups on a single interface.
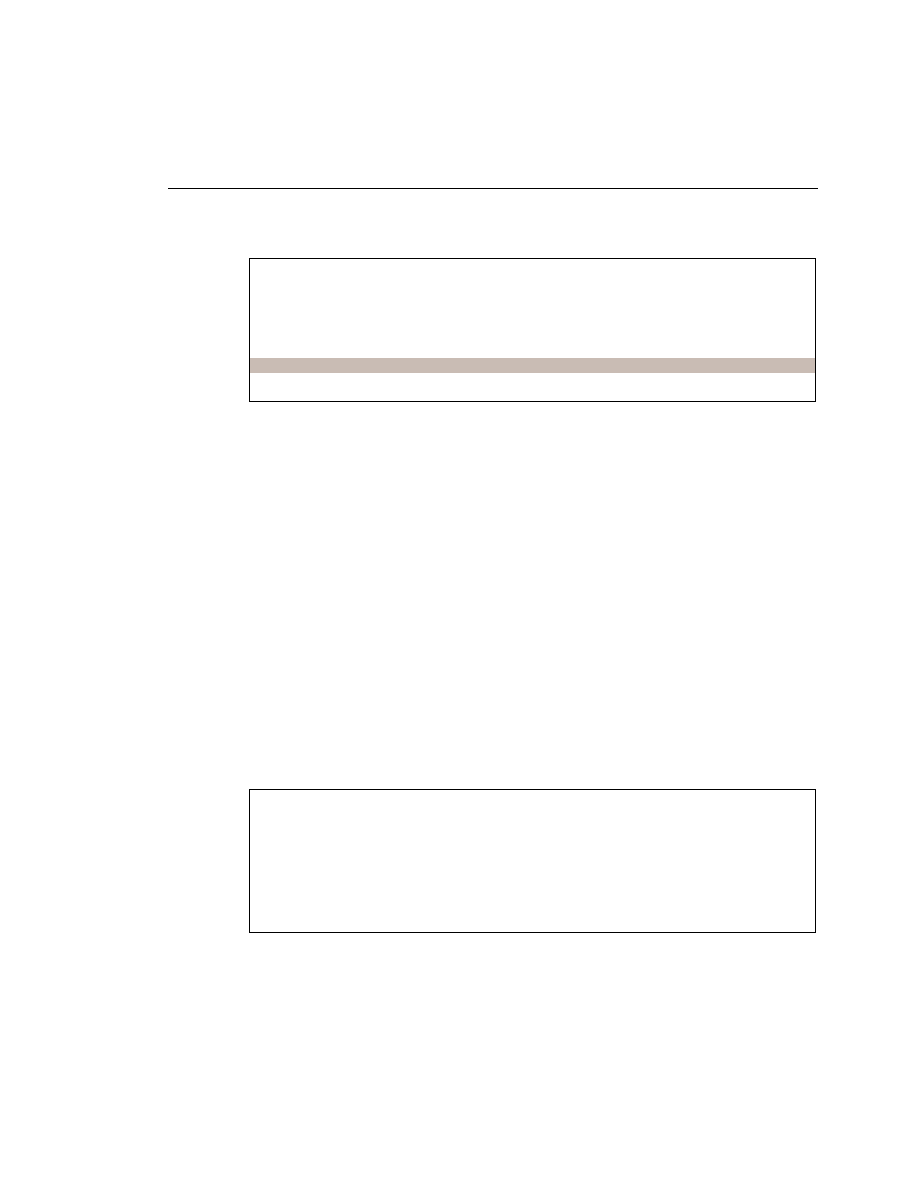
queueing. It shows the detail of the priority lists configured on the router and the appropriate
details of each list. Example 10-6 shows the command output for show queueing.
RouterA(config)#priority-list 1 protocol ip high list 101
RouterA(config)#priority-list 1 interface Ethernet 0 high
RouterA(config)#priority-list 1 protocol ip medium
RouterA(config)#priority-list 1 protocol ipx medium
RouterA(config)#priority-list 1 protocol Appletalk normal
RouterA(config)#priority-list 1 default low
RouterA(config)#priority-list 1 queue-limit 10 40 60 90
RouterA(config)#interface serial 0
RouterA(config-if)#priority-group 1
Current priority queue configuration:
List Queue Args
1 low default
1 high protocol ip list 101
1 medium protocol ip
1 medium protocol ipx
1 normal protocol appletalk
1 high limit 10
1 low limit 90